Building a shed

We needed a safe space to hold our gardening tools and store our seeds, a shed was undoubtably on the cards. After shopping around online we mentioned we were looking for one to our dad and to our suprise he said he had an old one that he had flat packed and kept down the end of our garden [what are the odds?!]. So, to our delight a wonderful bit of upcycling was about to go underway!

First step [probably the hardest part] was transporting the shed to the allotment itself…we managed to get hold of a friend who owns a large van so we loaded that up and off we went to the allotment. Through the small wire padlocked gate, four of us managed to get all the pieces safely to its designated spot at the very top of the plot and so, the building commenced!

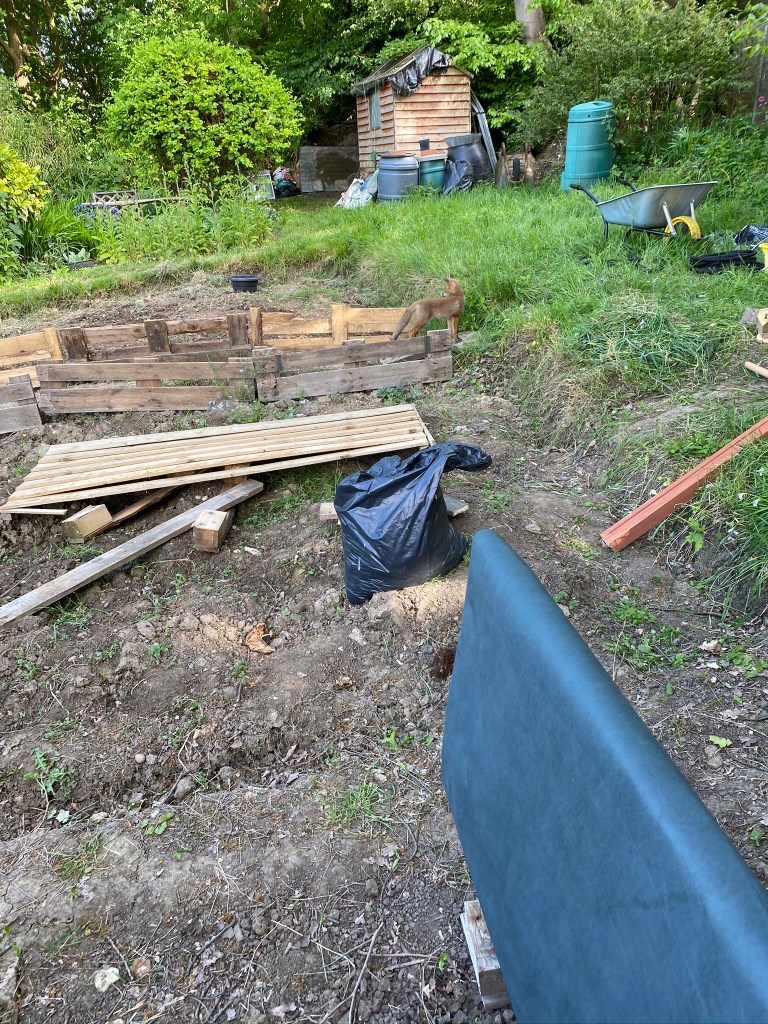
The first adventure we had to undertake was to prepare the area to build the shed. We removed any old rubbish, dead leaves and branches to get it as clear as we could. If you are thinking you need a shed you can upcycle, re-model or even create one from scratch if you are feeling adventurous! There are lot of sites that you can find used sheds such as Ebay, Preloved or Gumtree [https://www.gumtree.com/garden-sheds] – all you need to do is type ‘used shed’ in the search bar and select the area you live in and hopefully a load will pop up near you!

We have listed out the below steps we took to create our shed, we hope you find it useful too;

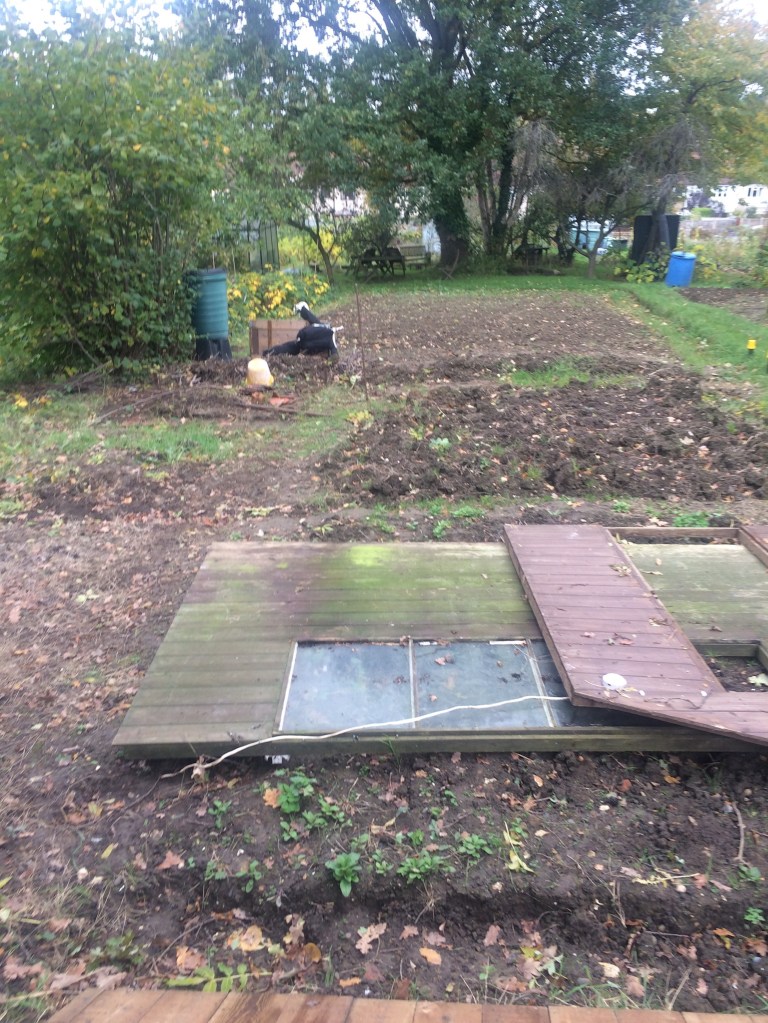
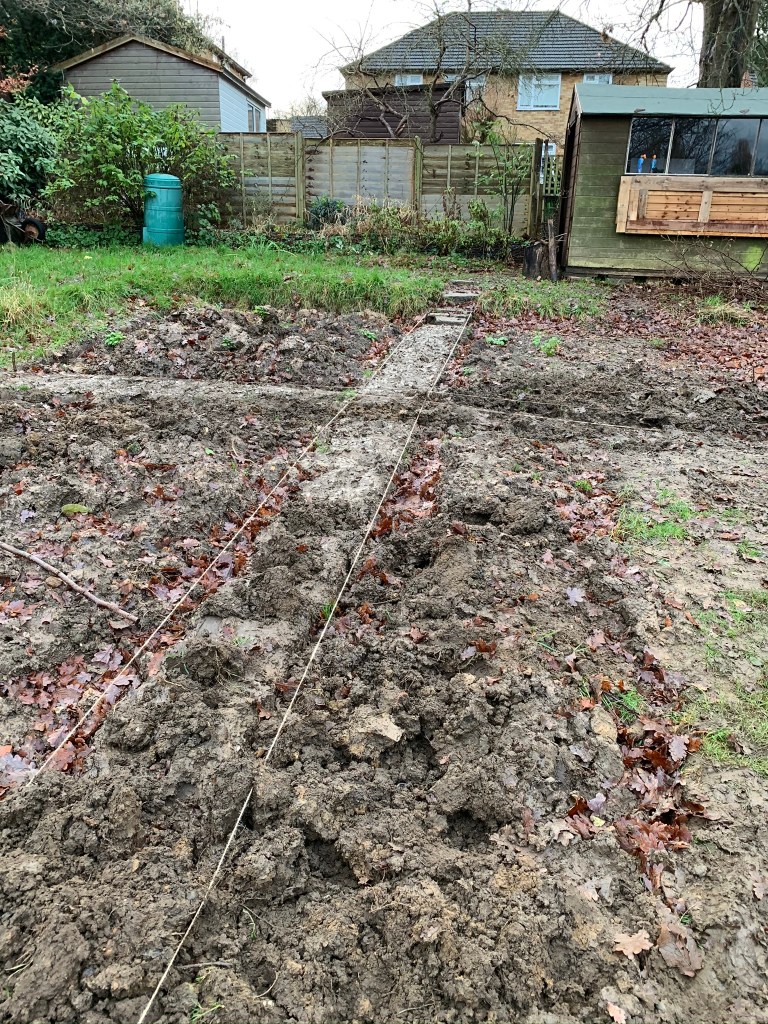
Step 1: Get a straight base

Create a level area or base. You shed should be suspended to allow airflow under the floor of the shed to keep the shed dry. Do not place sheds directly onto the floor as moisture will rise and it will simply rot. 

Use paving slabs or bricks/blocks to create small platforms in which to place your base. Ensure that these supports are level between each other using a spirit level. 

Step 2: Lift up those walls

After the base or bottom frame has been completed, next step is to raise the walls. If you are using a pack or have a pre-built wall panels use a friend to hold one side whilst you create the first corner. If you are creating from scratch, around each side input uprights onto the base floor and fix these in place – use a spirit level to ensure these are flat. 

Step 3: Lets get those next walls

After creating one corner, follow the steps around until all four walls have been erected. Ensure if using pre-built walls that these are fixed tightly together in order for the structure to remain square/rectangle in shape. If you are building from scratch, after erecting your posts in each corner and a supporting cross beam, you can add some panelling to the sides using feather boards.

Step 4: Roof it!

After the walls are up, attach the roof sections one side at a time fixing these to the walls. Ensure any wall panels are screwed to the floor by securing each section with at least one screw. If building from scratch, use a system of two cross beams running along the shed length to attach boards to – or if you want to be super fancy with a super secure pitched roof – create a simple template to cut each beam at the same 45 degree angle (or what ever angle you think is best) to attach running down the roof – ensure that the beams each overhang the sides to create enough gap for rain run-off and not allow any water to run down the walls.

Step 5: Door and Rain-proofing

Final steps are to hang the provided door or put one together using simple cross bar and frame, you can use felt to waterproof the roof – try not to crease the felt and leave enough to overhang the edges. Any loose felt in which wind can get into will be torn and will not last to ensure that you secure this. Start with the lowest part of the roof working your way up to the Apex ensuring each section has ample covering and nail down with some nice lead based nails. Hang the door and insert a lock to keep all your tools safe at night. 

Step 6: Final Additions

To finish off your shed, cover the excess felt with panels and add a simple guttering system to capture the excess rainwater into a water tank or even ‘rain chains’ – these are really simple to install and are super effective:

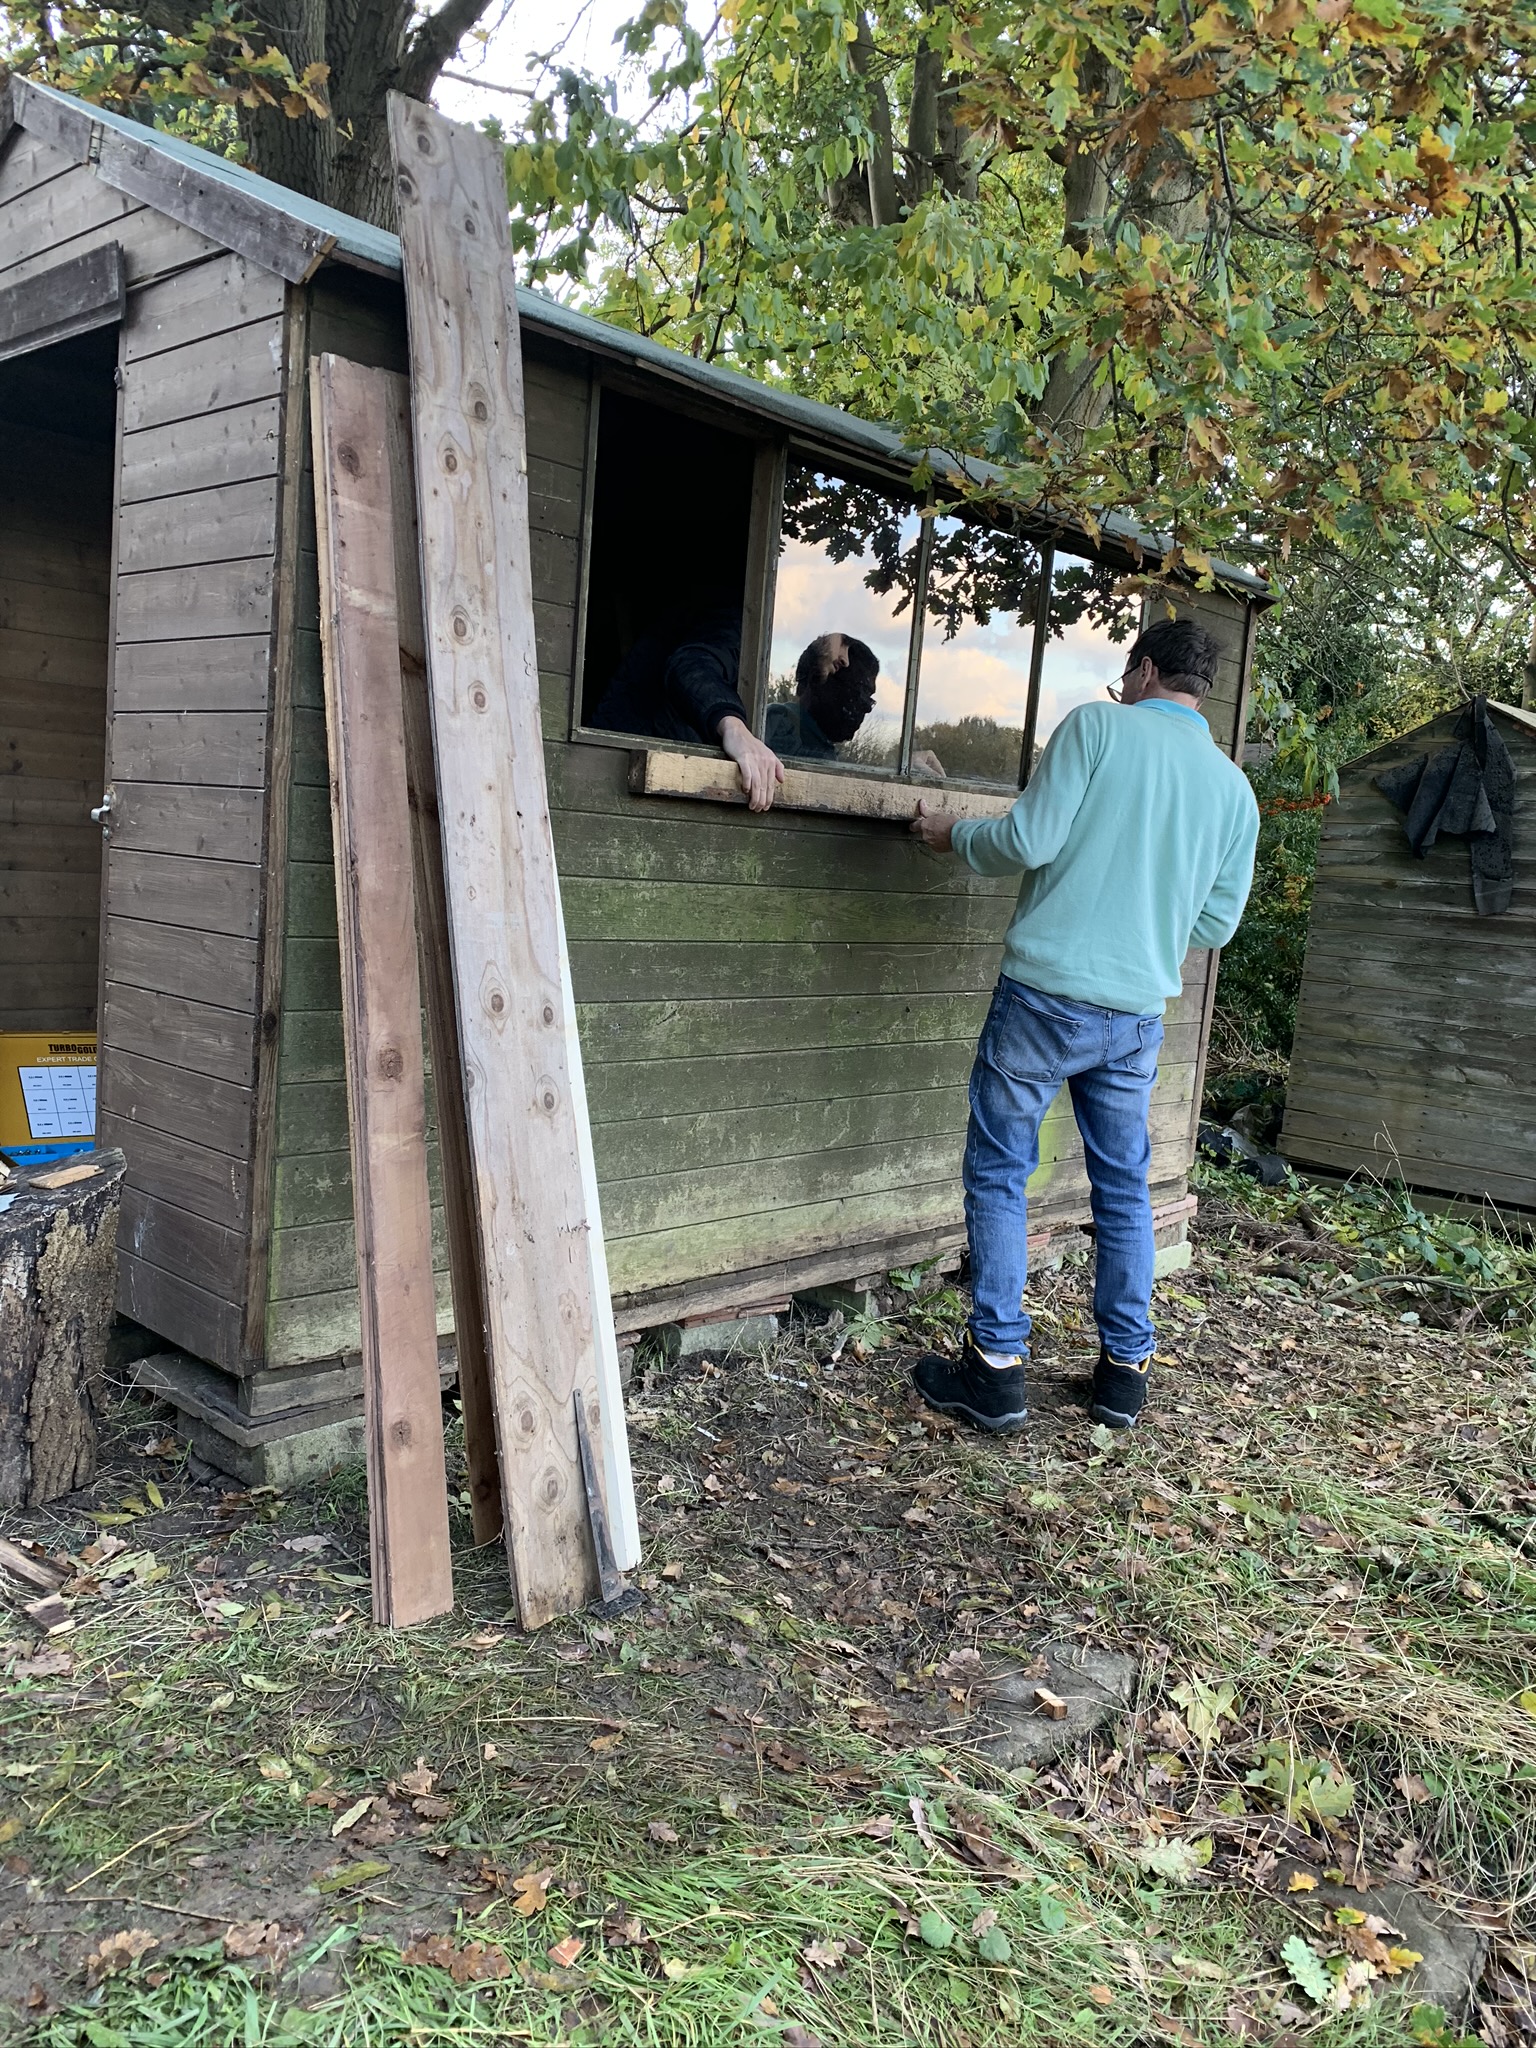
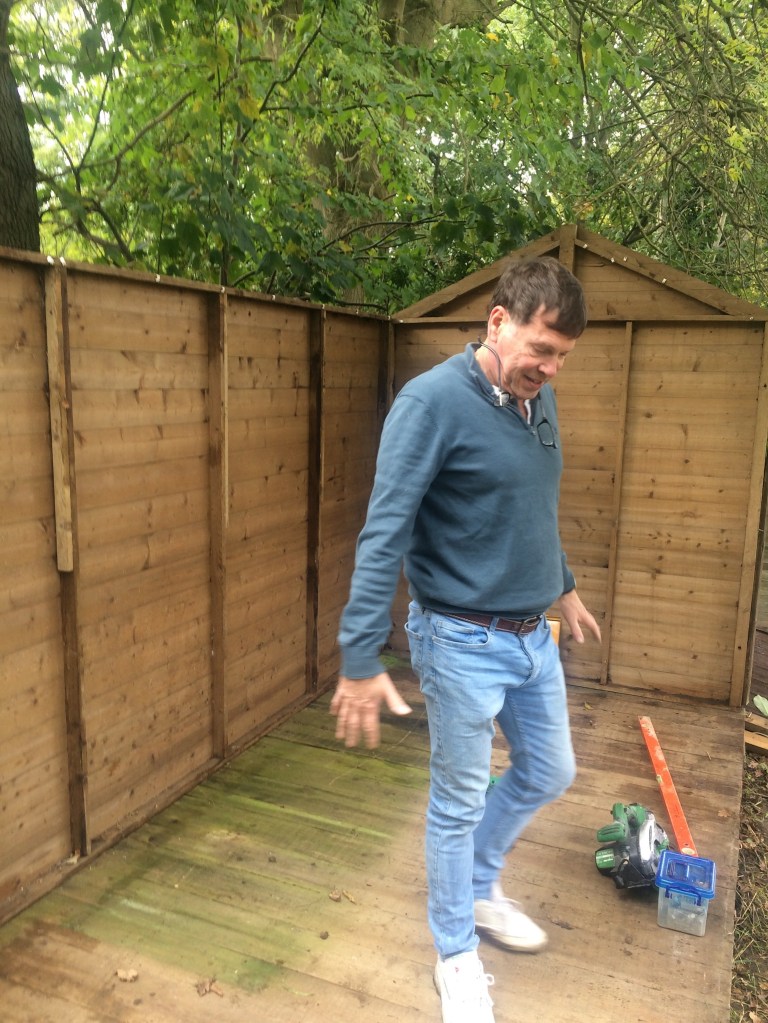
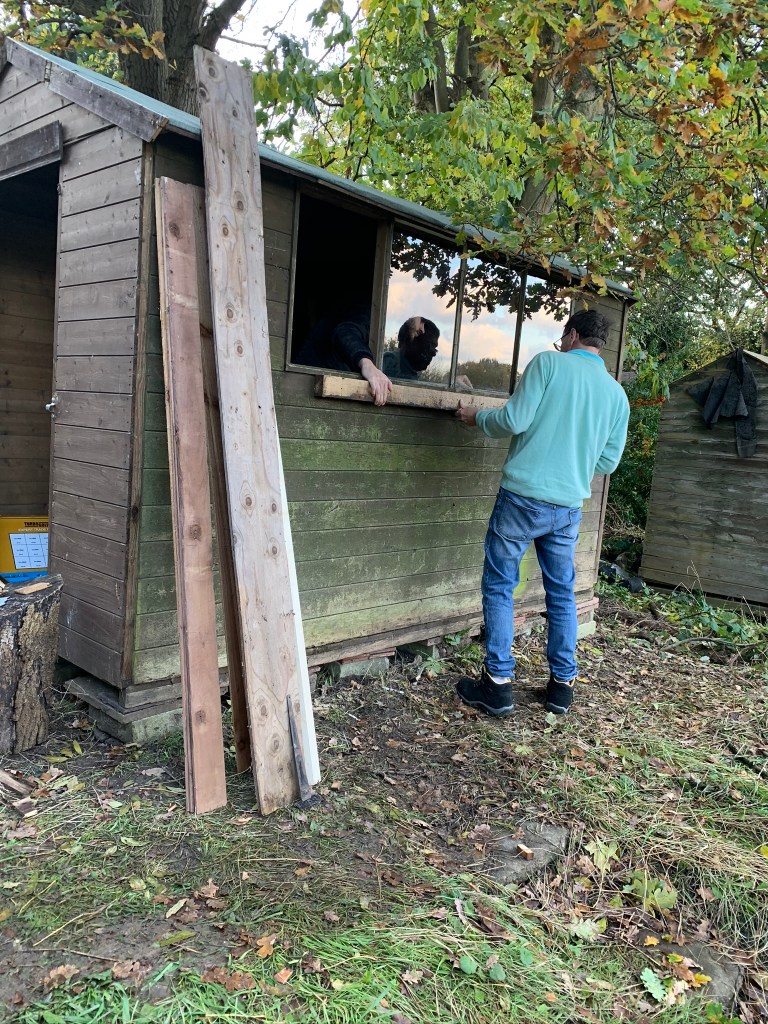
Its also a good idea [depending on how organised you are / want to be], to create places designated for your tools and a simple work area or shelving unit. We created really simple shovel and fork ‘hanging unit’ which was a piece of off-cut wood that we screwed in a V-shape into the wall which allows us to slot in the handles of the tools so they just hang freely. We will take some more photos of the internal area of the shed to show you but for now here’s a few photos of the building action for you to enjoy [with the majority of photos showing our dad – the chief builder!]:

Hope you enjoyed reading this and we wish you luck in the building of your own sheds!

————

D O A N G

If you’d like to see our frequent updates on how the garden and allotments are coming along, please feel free to follow our Facebook / Instagram pages in the links below:

How to dry your garden herbs

Here in the U.K., alongside the crazy year it’s been already with COVID-19, the weather seemed to join the party so unfortunately the grand plans for our garden and allotment didn’t go entirely to plan BUT we did have a wonderful array of herbs!

A vast array of herbs are very hardy and we have grown them in our garden at home for years- (some a little more needy than others but either way – there is always something sprouting around) – at least we have an endless supply of fresh leaf teas and flavourful food!

Year on year, we have always said we would dry the herbs before they die off and this year we stuck to it (finally).

In our garden we have the following:

Evergreen herbs (which also double up as ornamental plants) – Bay trees, Rosemary, Thyme, Sage and Lavender.

Then we also have Coriander, Mint, Lemon balm, Chives, Basil, Parsley, Fennel, Angelica, Oregano and our new found favourite – Lemon Verbena.

We are lucky to have a shed at the end of our garden that we use to hang our fresh herbs to dry but anywhere that isn’t damp would work.

We start by gathering the plant into a bundle whilst it’s still in the ground and then use garden twine to twist around the base of the stems then just a pair of garden scissors or secateurs to chop away. Ensure that your twine is long enough to allow you to hang the bundle, hang up the herbs so they have enough air flow to dry evenly and not mould or rot.

Let nature do its thing and within a few weeks you’ll have some fab dried herbs!

Once dried, we get a glass pot or container for storing the herbs and just scrunch up the leaves (or pick them whole if you want pretty leaf tea) taking them off the stems and then store in an airtight container. They would made beautiful hanging decorations around the house or in a little vase for autumn too!

Happy drying everyone!

D.O.A.N.G

We have also started a Facebook / Instagram page if you’d like to follow us on there and get the frequent updates on how the allotment and garden are coming along please click on the link below:

Planting

Most purchased plants and seed packets usually contain some form of advice as to when to plant a plant or seed.

In our experience, this is based on extensive research to find the best growing conditions for that plant. Based on the findings, the advice is created for a generalised public to fit a general average environment. These guides are essentially just guides – only you will know your area and it changes every year.

If the plant is not very hardy and prone to cold, because a packet says to plant the seed in March but you know that it has been especially cold this year, you will not see the benefit from planting in March as a single frost can kill off your investment.

Plant smart and keep an eye on the weather. Alternatively, plant indoors or under cover, this will allow you to plant out in time and transplant stronger seedlings.

Sprouting those Seeds:

There are a number of ways to sprout seeds from simply following instructions and lightly planting in potting compost, sprouting on a wet paper towel in the dark to using a flood and drain system to sprout the seedlings. Different seeds like different environments to sprout. All seeds however do like some form of darkness.

If you plan to water your seed trays/pots, remember not to use too much water. The soil should not be saturated, but just lightly damp. I tend to only water my seedlings every other day or when they appear to be dry on the surface. 

Do not worry about having to use a really fine spray or drip to water, just use a medium to light watering can head or alternatively I used a sports drinks bottle to easily water the pots. We do have a spray bottle that we use [up-cycled from an old hair product bottle] but there are some great amber glass and BPA free re-usable spray bottles available on the internet – here is a link to one we found on Amazon in case you are interested;

After planting, I usually keep the seeds in the dark from anywhere between 3 – 7 days until I see the first cm or so of growth. After which I move the seedlings to a sunny window to grow naturally.

Hardening off:

When sown indoors, you should harden off your plants for a few days prior to planting out. I have a cold frame I use for this, or alternatively, I move the plants outside in the morning prior to work and once I return, I bring them back in overnight. 

If you do not harden your plants, they may go into a shock mode causing them to immediately try to bolt or flower or simply wither away. 

Usually I find that once a plant has at least two true leaves (these are the next ones that appear after their baby leaves) it is usually time to plant them out. Keeping them any longer and the roots will not have sufficient space to grow and it will stunt the plants growth. You can extend this period if you move the seedling to a suitable sized pot to grow on further indoors if you wish. 

Transplanting:

To transplant a seedling, it will depend on the type of plant. For plants you with to grow together in a clump, you can plant the whole tray and simply harvest the smaller plants as it grows. This works well for clumps of beetroots which I like to grow in clumps of 4 -5. As they get larger, I simply pull out the larger beets to let the smaller ones come up to size. 

There are certain vegetables I would not transplant – these are mainly carrots as you may damage the taproot (i.e. the important part) when transplanting. If I did want to transplant, again I would simple plant the whole bunch at the same time – obviously removing the pot gently. 

Companion Planting:

I am not sure, but it seems companion planting is a new-ish idea however it looks like it was naturally happening historically – so I have no idea if it is a new concept or not. Either way, it seems like a good idea to try for me. 

There are a number of combinations you can find online that people say work well, however I have taken on the motto – if it tastes good together, it will grow good together.

For example, a popular companion plant combination is Corn and Peas. Corn provides a great support structure for the peas to grow up and peas naturally add nitrogen into the soil, assisting the corn to grow. This combo is big in the United States apparently. 

There are a number of other combinations, which seem to work and I shall be trying to include these within my planting plant this year. Planting borage next to strawberries apparently makes the fruit sweeter. Planting basil next to tomatoes apparently helps and planting carrots with onions scares away carrot fly. 

I am sure from my research there are combinations in which I shall never understand. However, I will keep testing these out. 

If you can use a flower for something sweet, try placing it near a fruit bush. If there is a decent culinary combination like the famous Mirepoix (carrots, onions and celery) I frankly, will try to grow these three as close to each other as I can and see what happens. 

Other types of companion planting is just for you to sacrifice a plant (usually a flower) for a vegetable. For instance, planting marigolds around will naturally attract pests to the bright marigolds, hopefully saving your vegetables. The same works for Nasturtiums and brassicas. 

Other times, it is to release a strong fragrance to confuse pests, like planting onions near carrots or garlic near leeks. 

When it comes to companions, the idea is to ensure plants will be friends and be companions. There is no point in planting a carrot next to a courgette. The carrot will be overshadowed completely or a parsnip next to a potato…they both grow down in the ground.

You have to think about each plants needs and whether there is another plant that can assist or hinder it. This is more theoretical and practical than science – but trial and error is really the way forward with this. 

I will keep you informed if I come across any really strange combinations in the future!

Happy planting!

————————-

D.O.A.N.G

We have also started a Facebook / Instagram page if you’d like to follow us on there and get the frequent updates on how the allotment and garden are coming along please click on the link below: