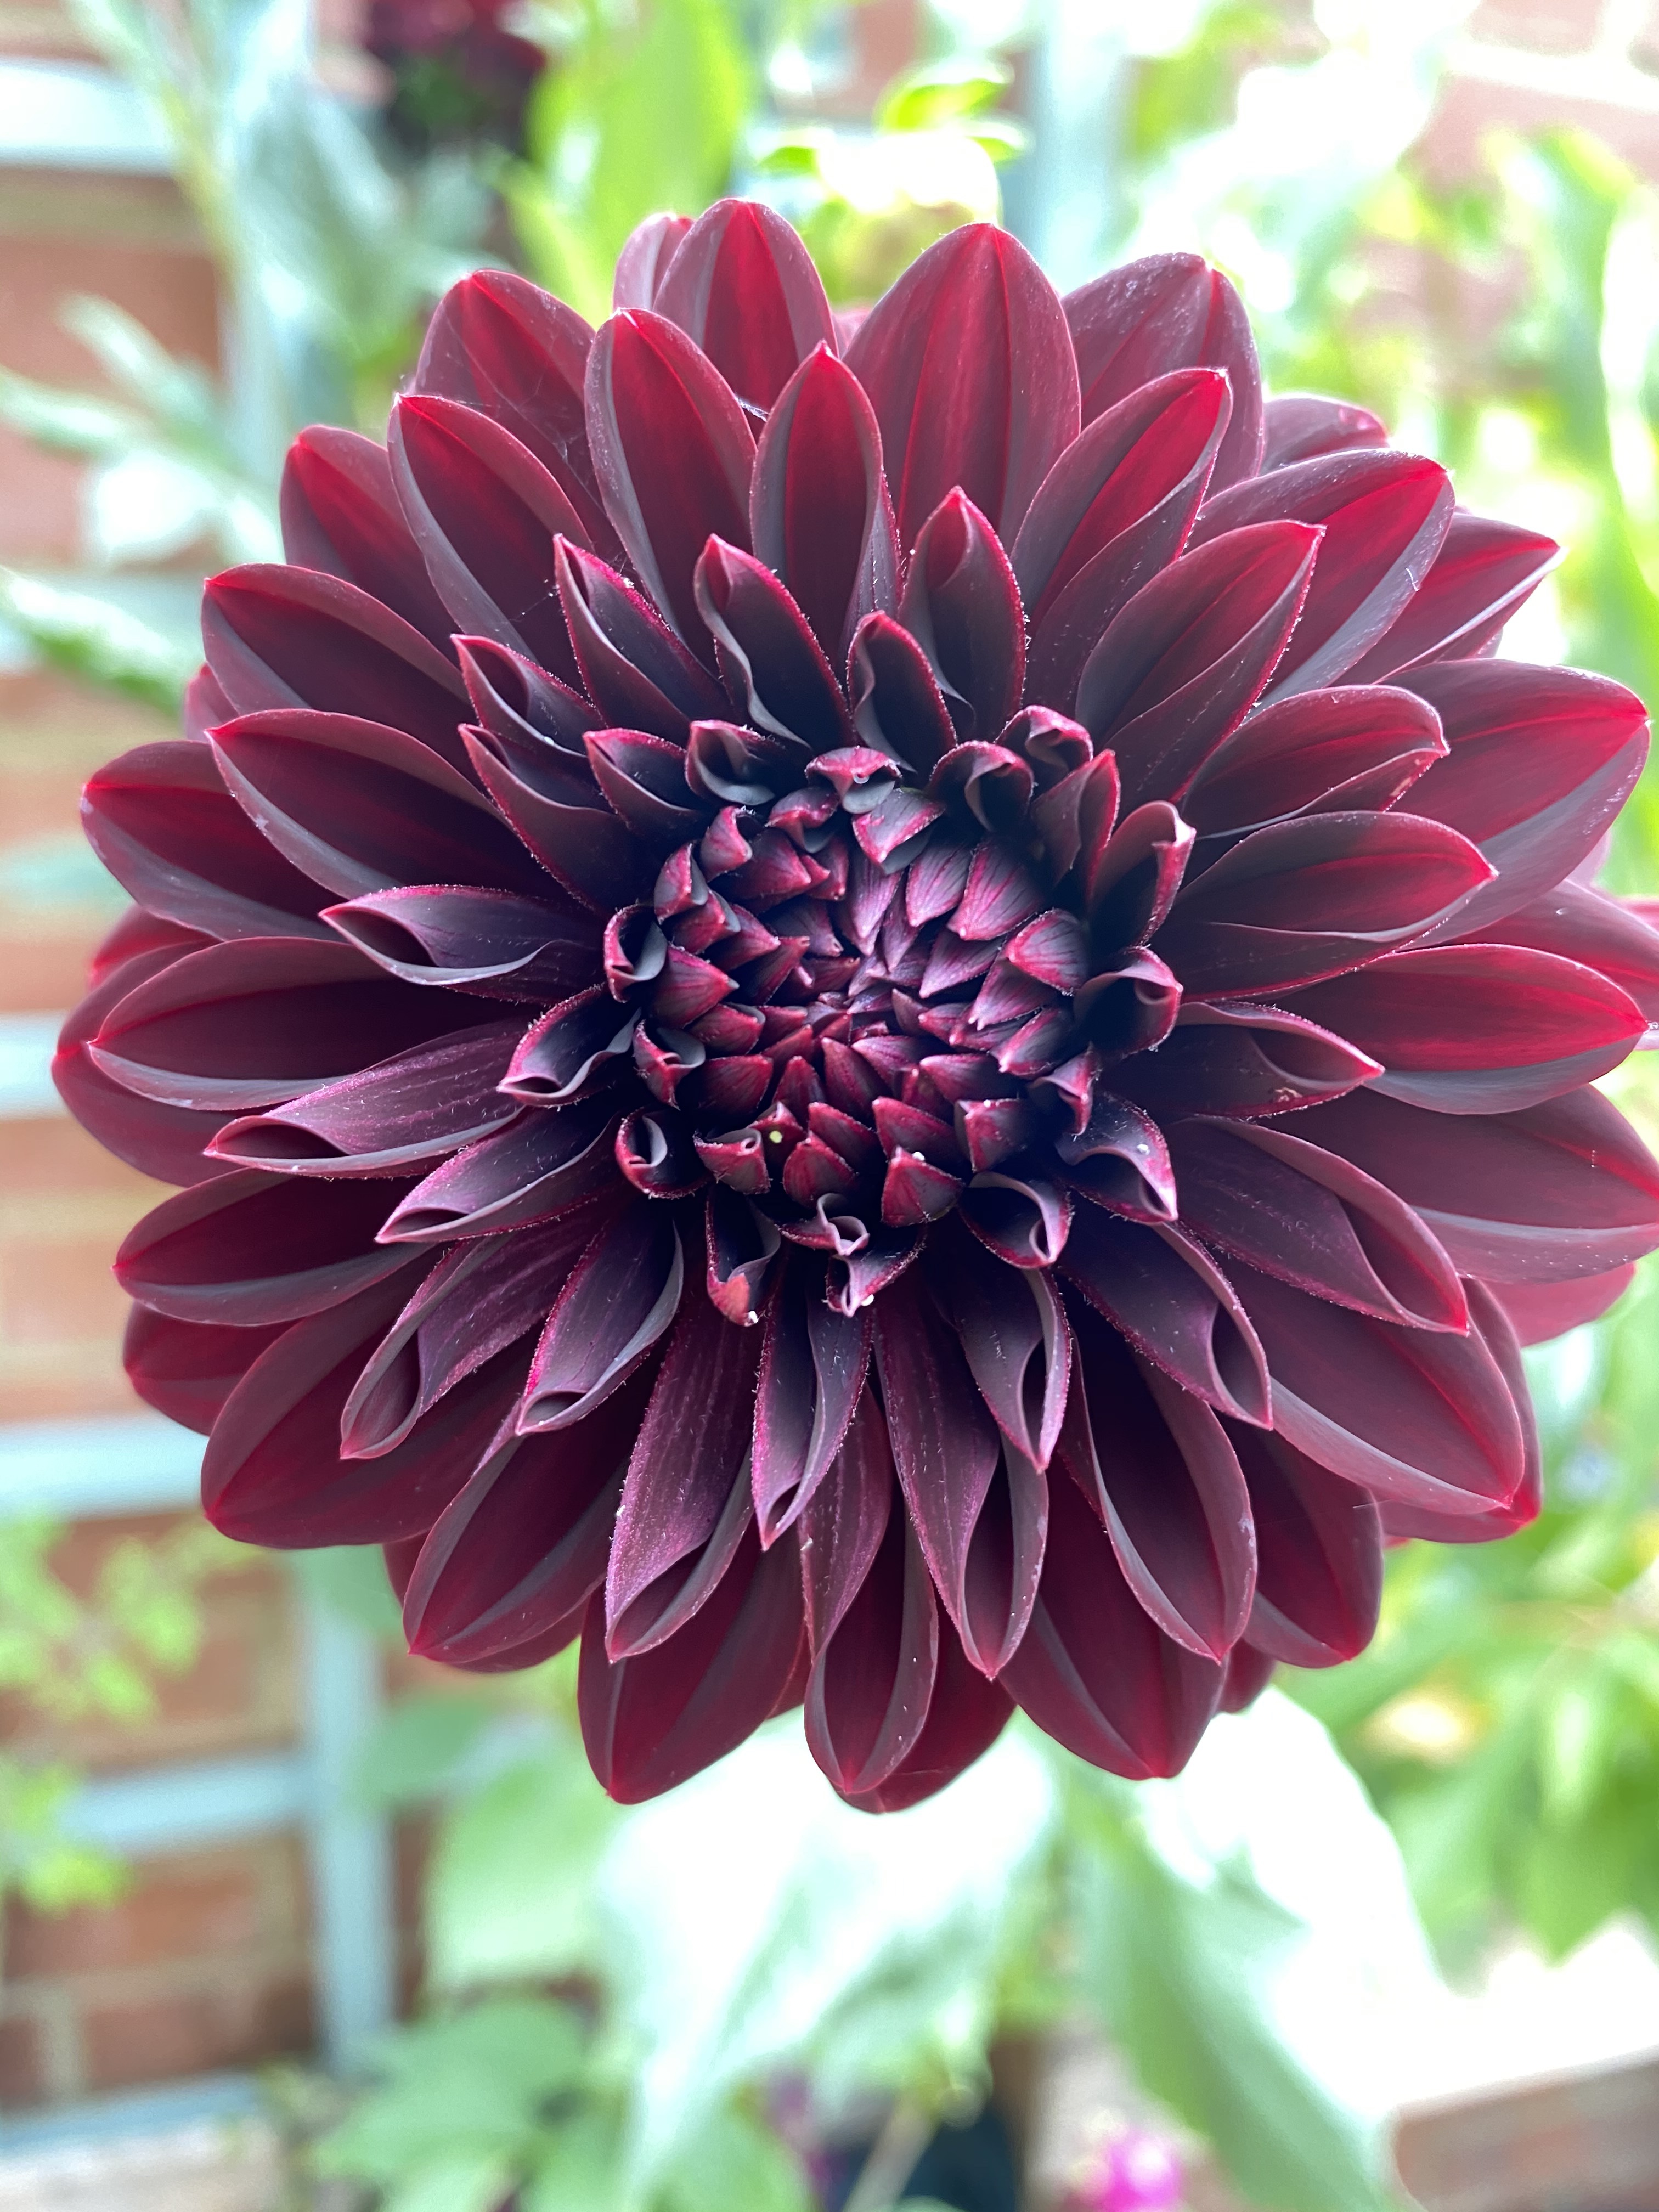
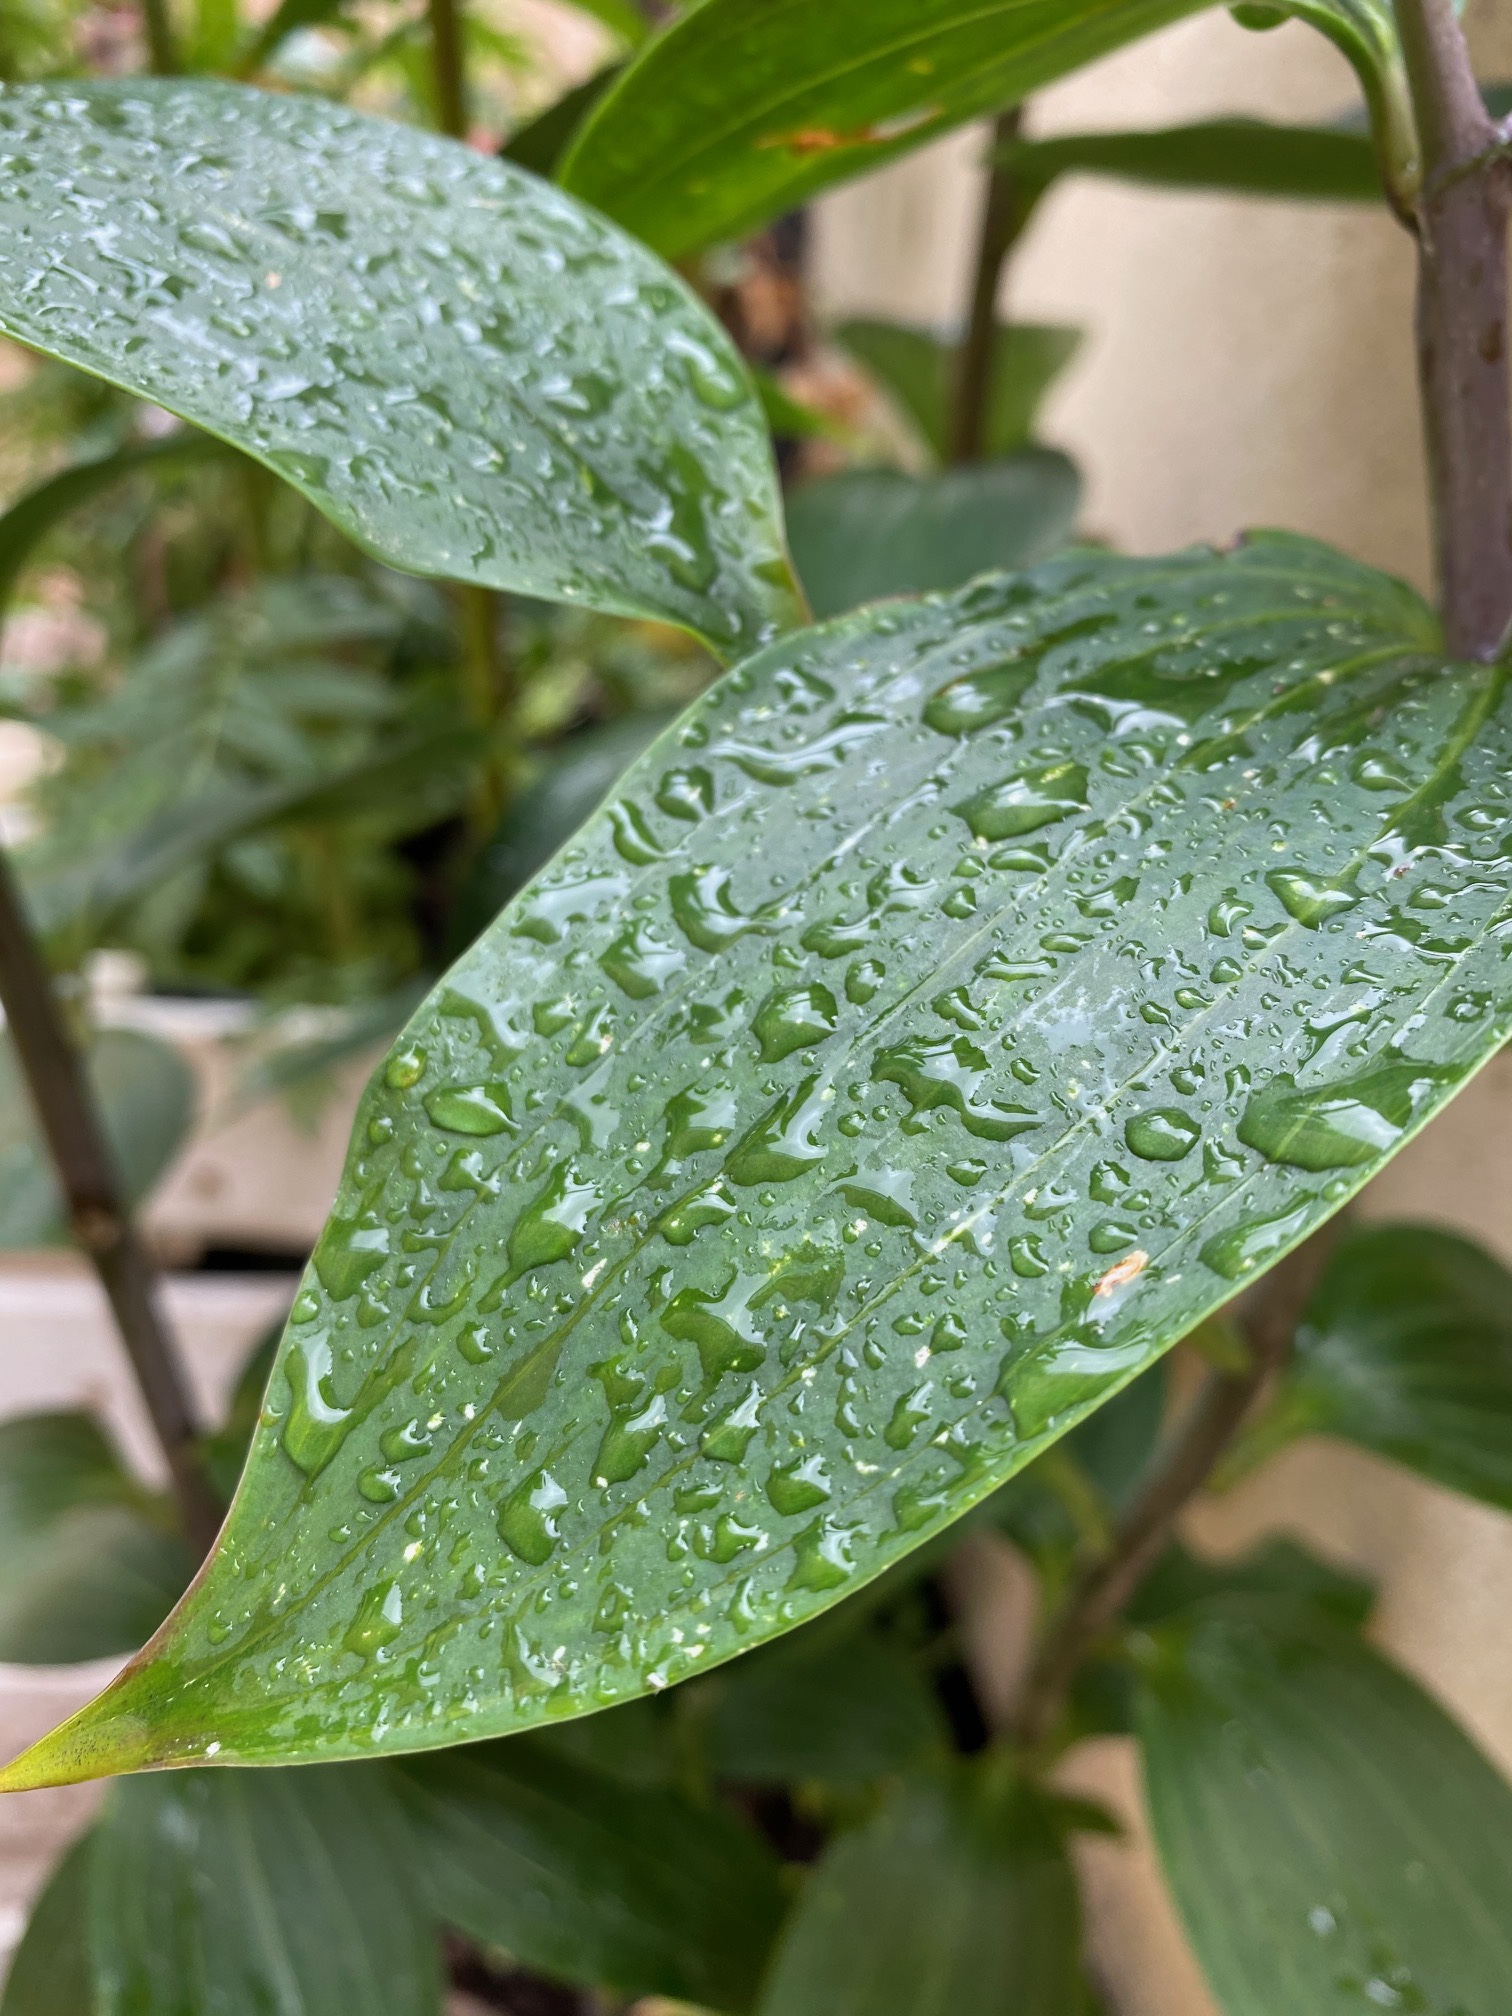
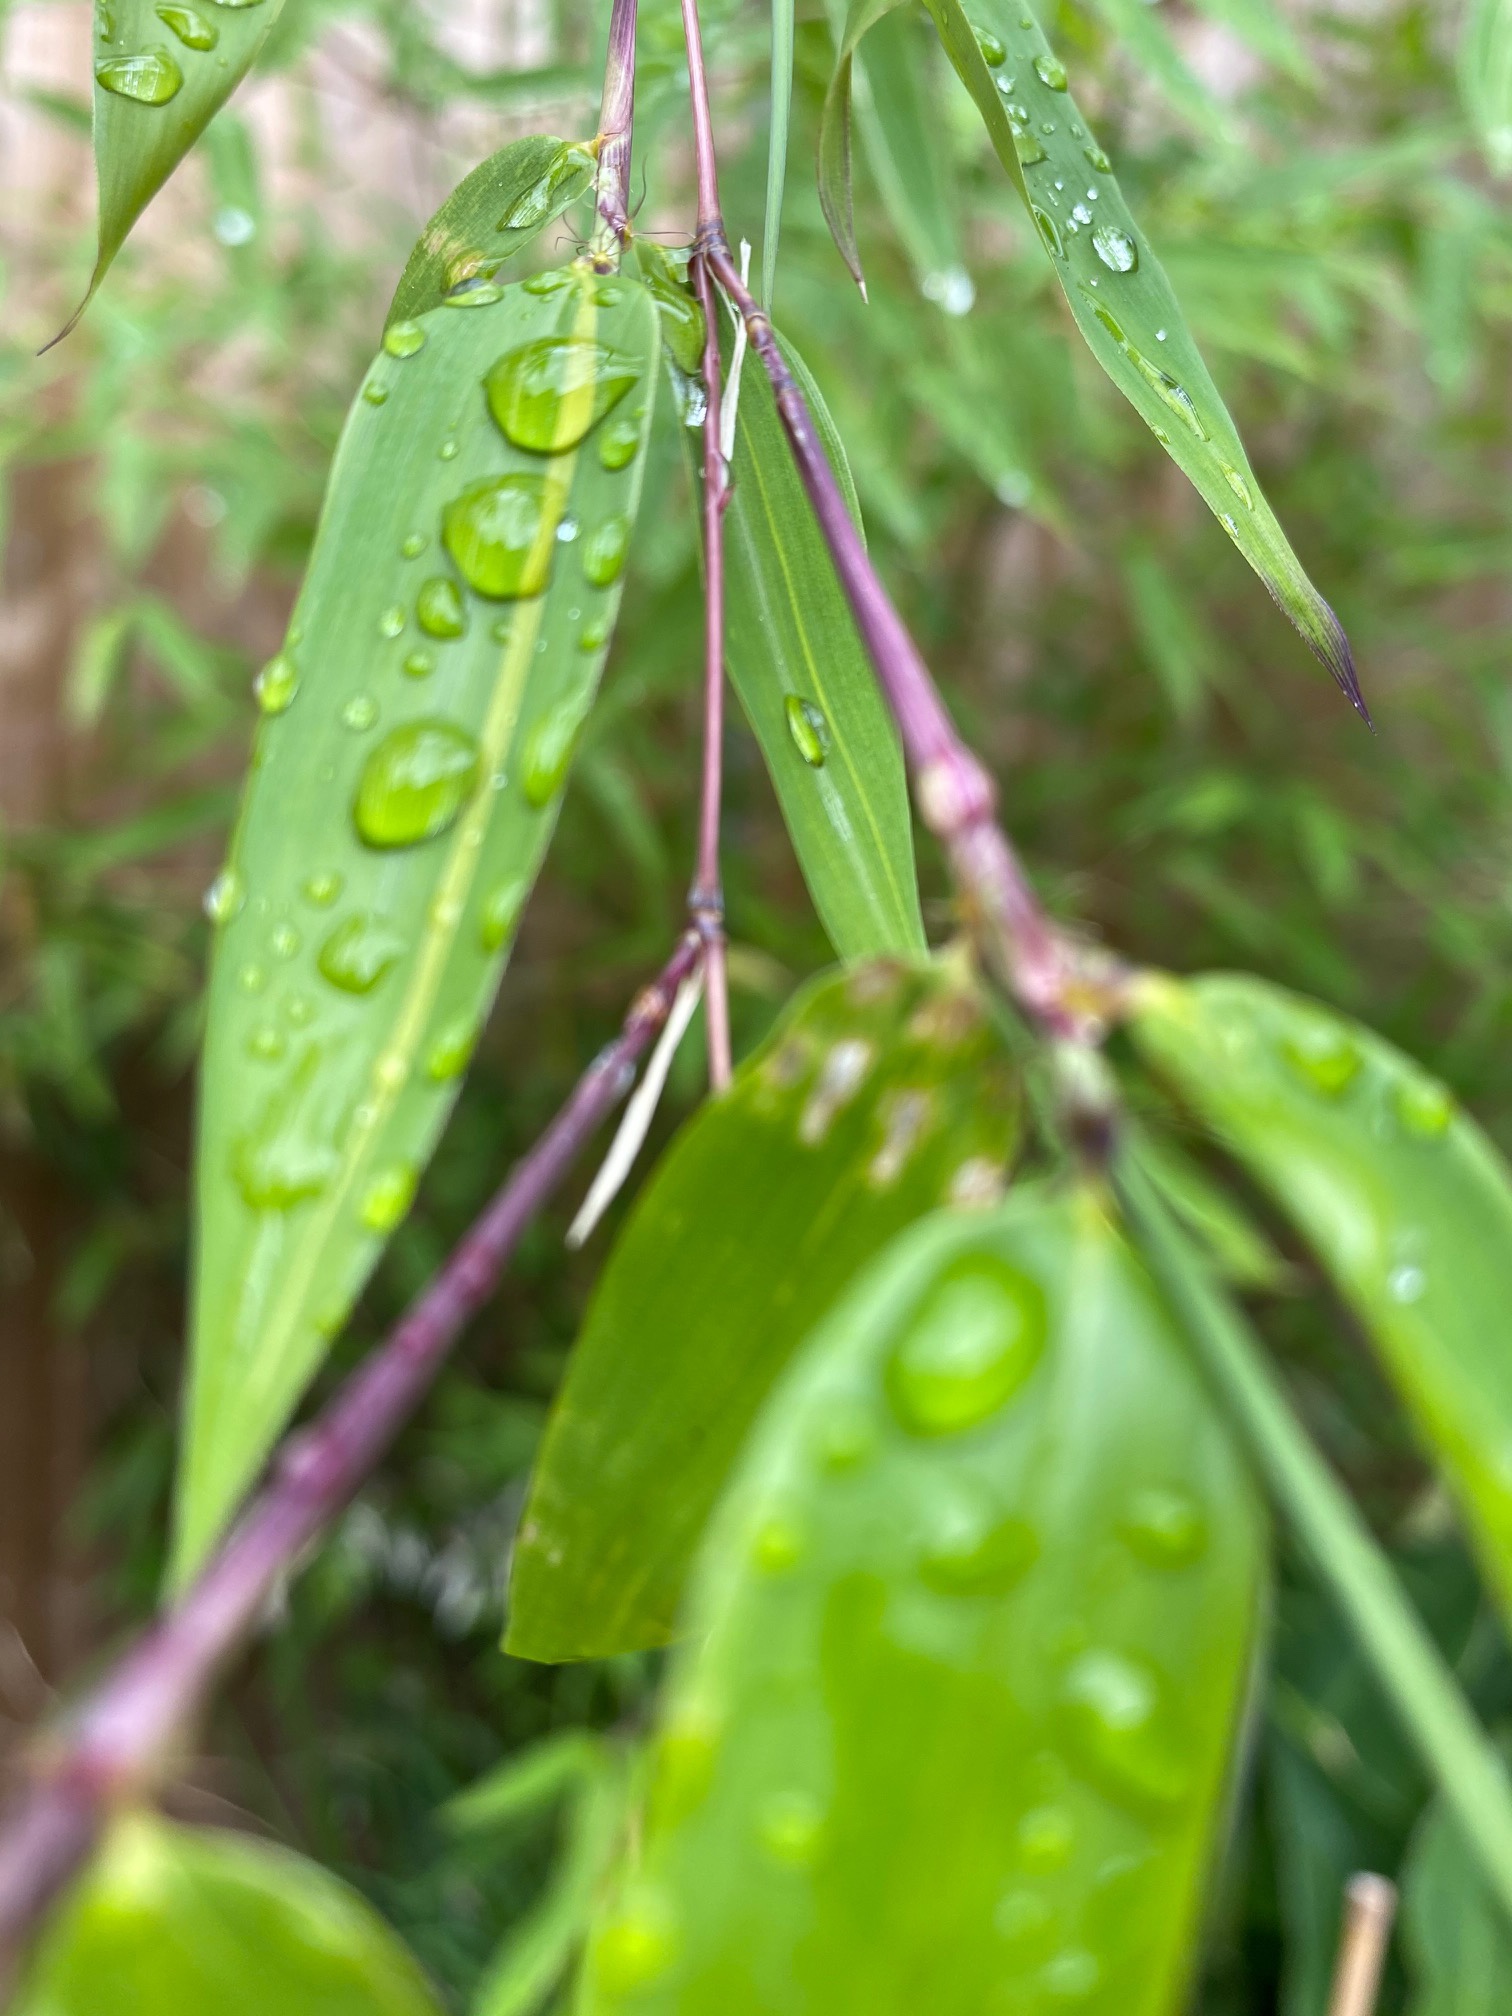
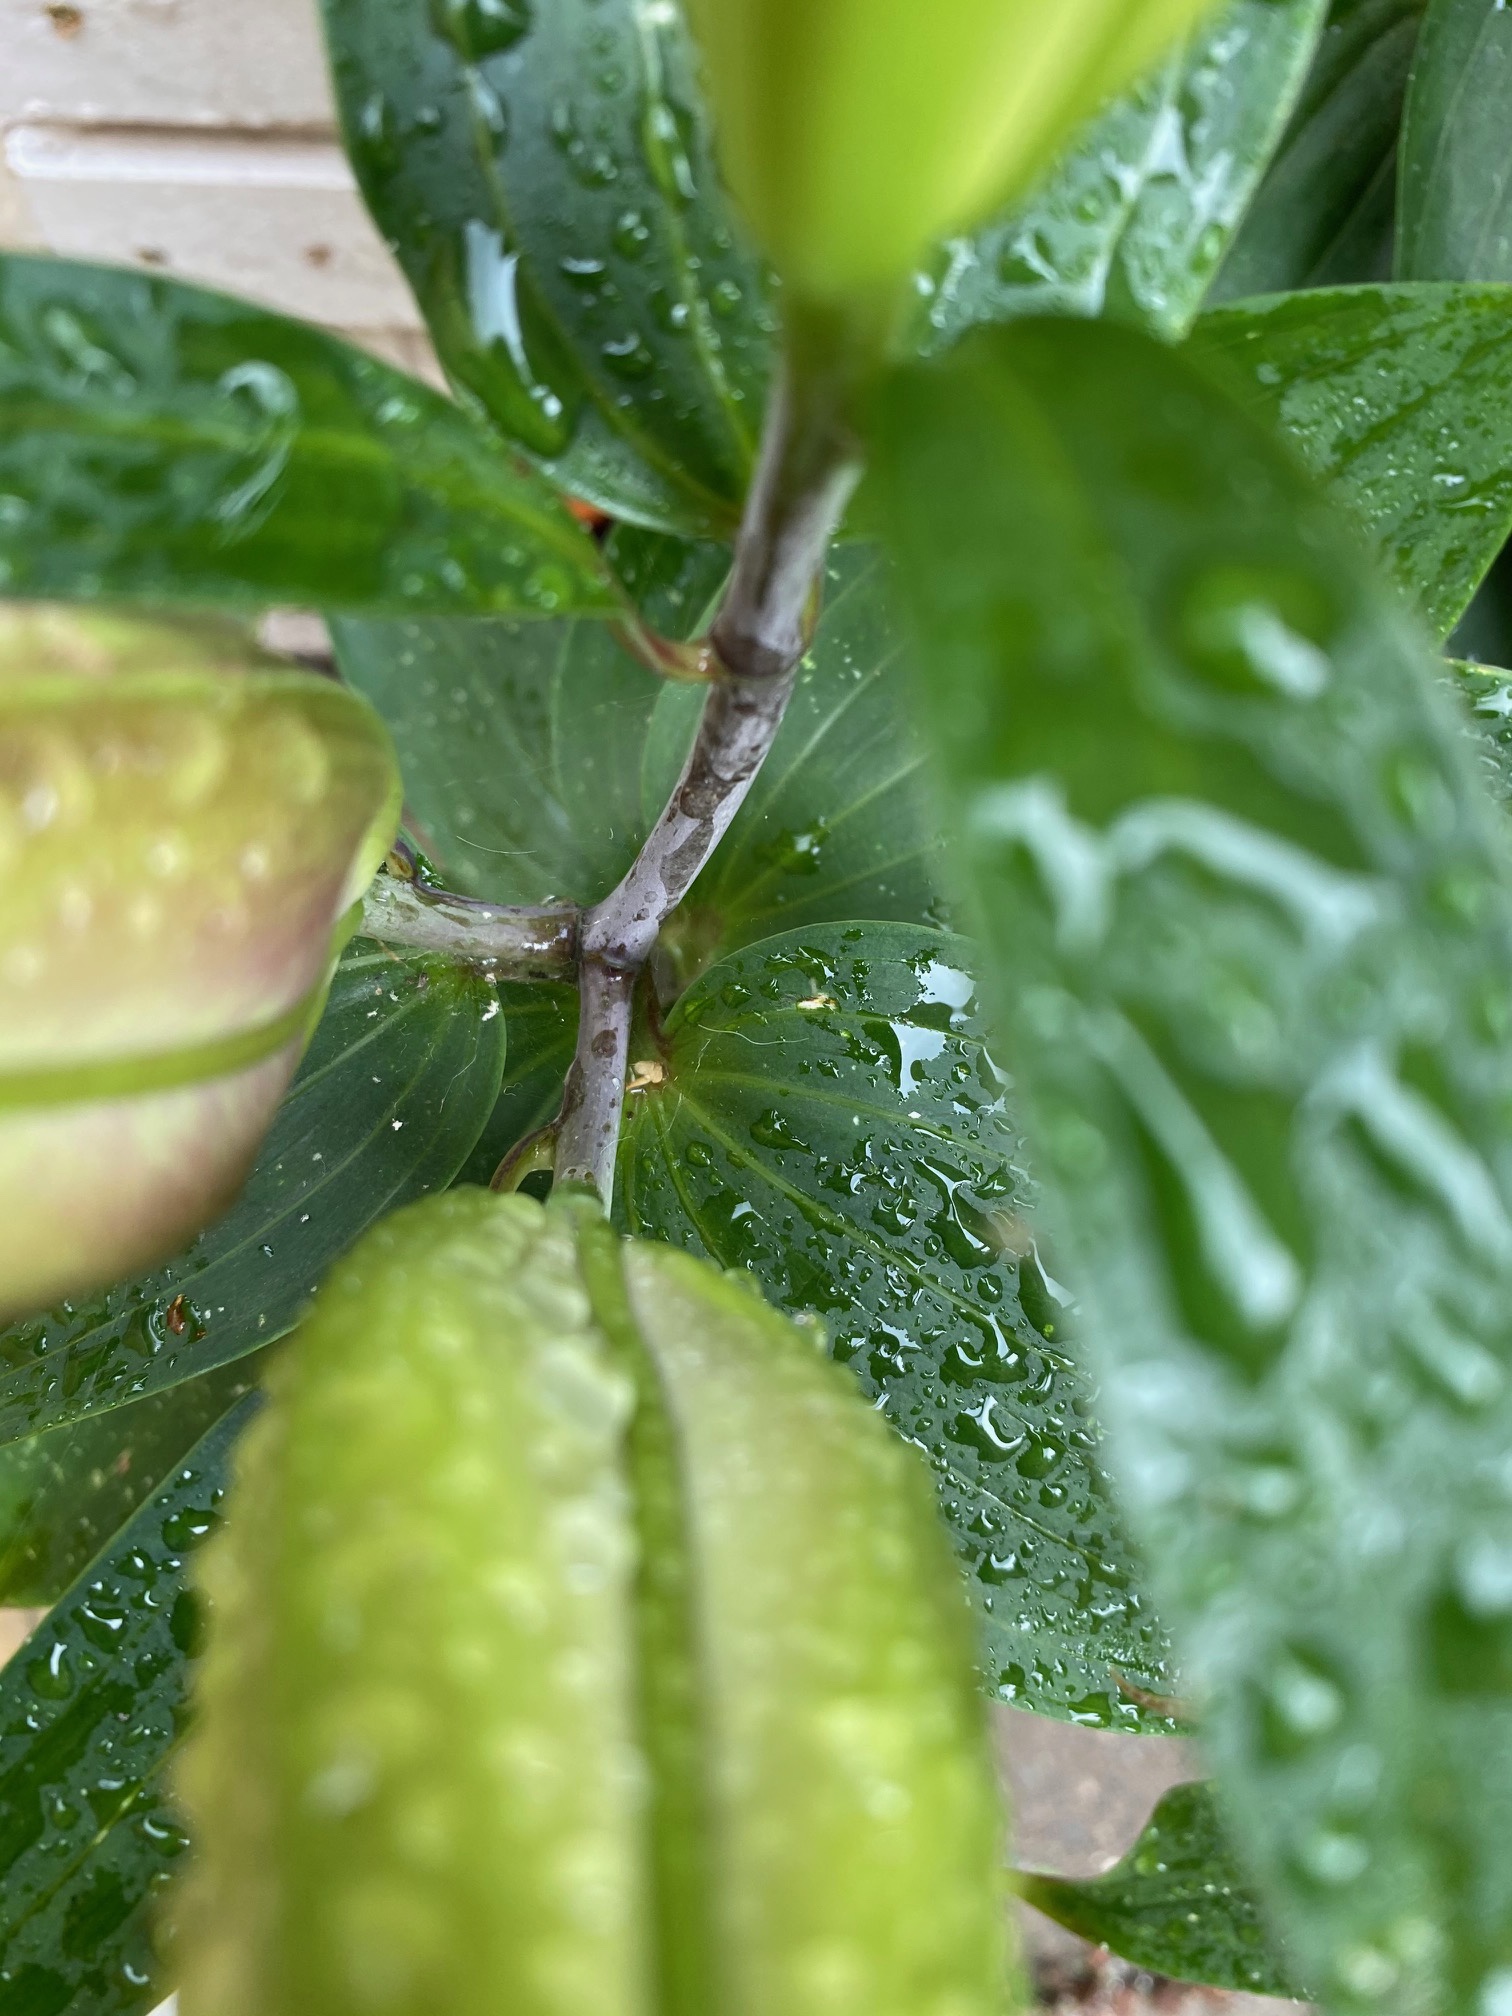
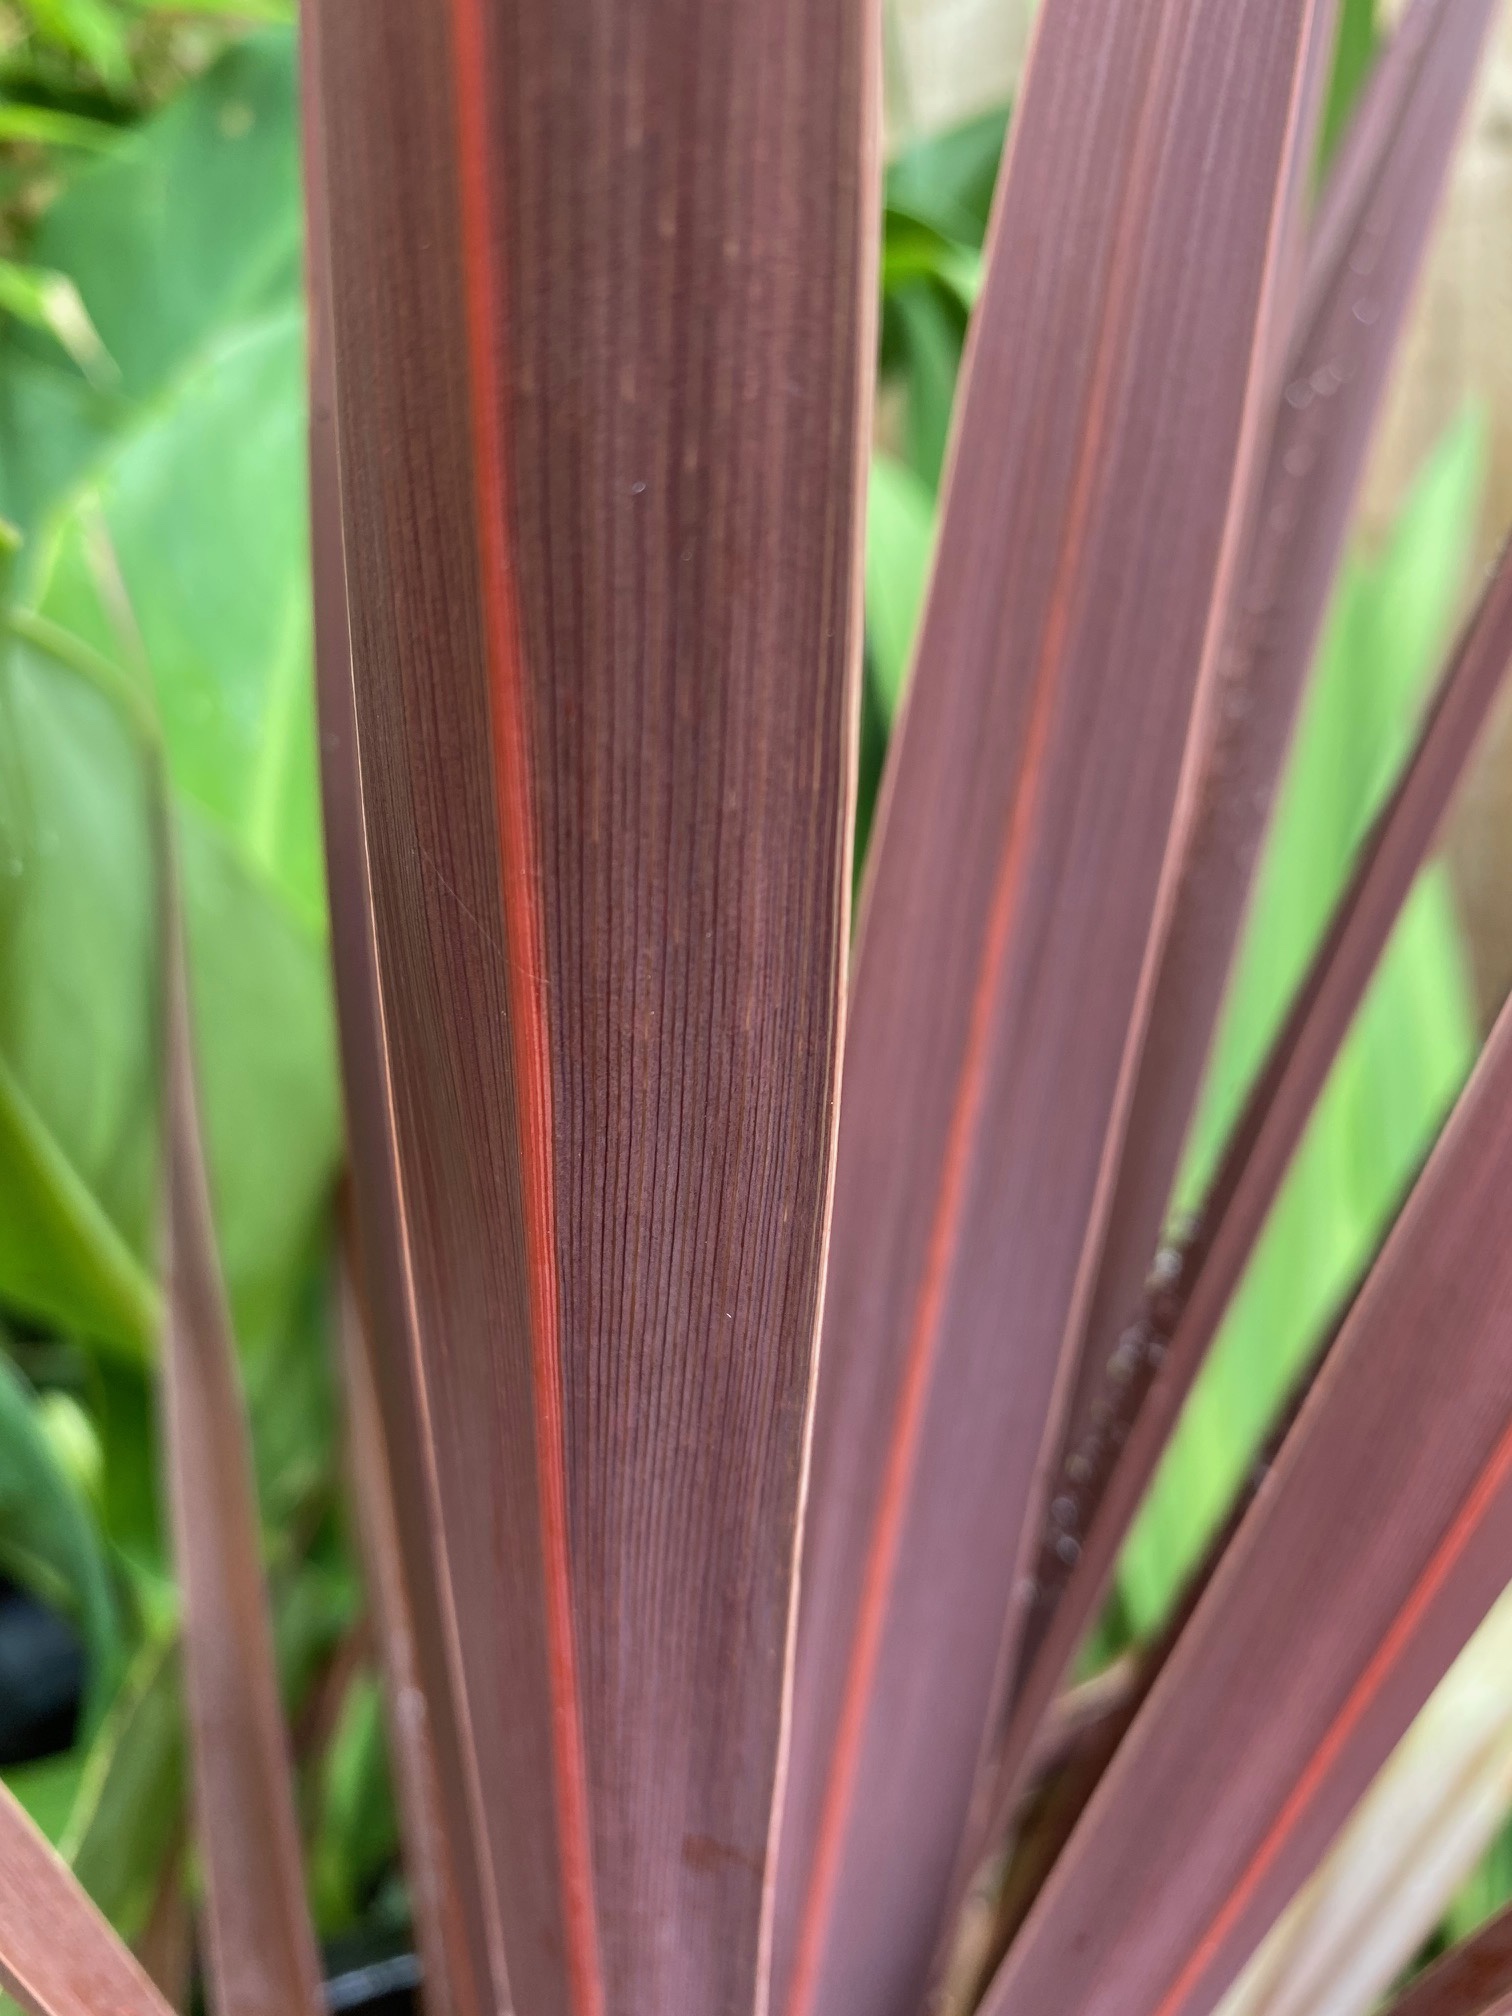
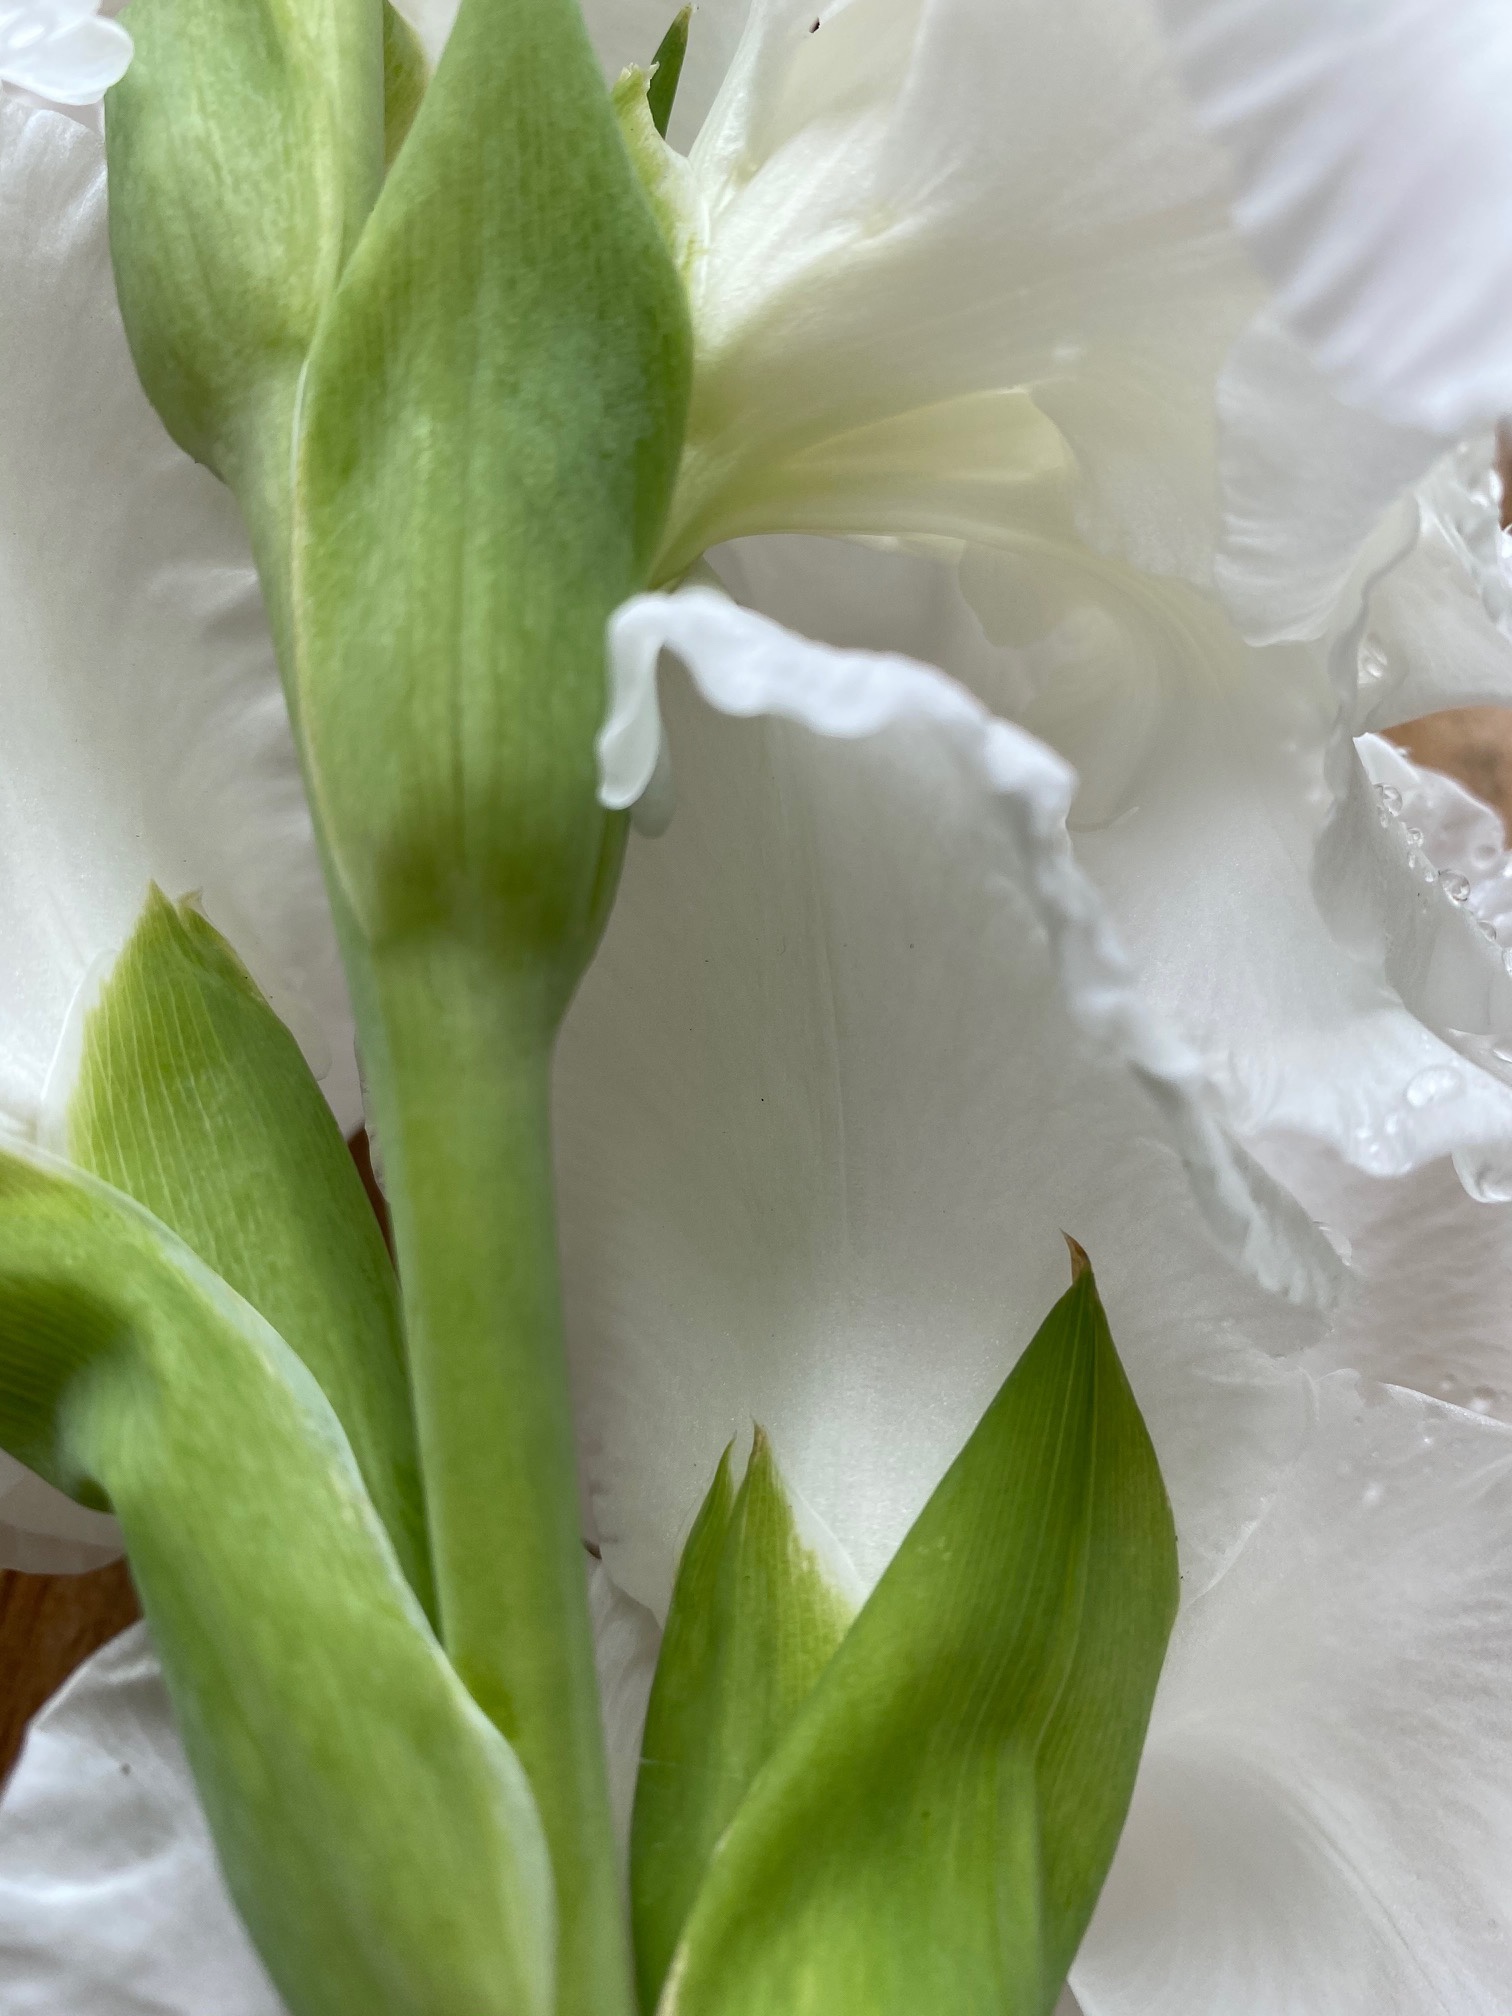
Building our compost bins from old pallets

So, I have a friend that has a warehouse – with lots of pallets! When I sent a photo of the 99+ pallets to Ben, he immediately said; “GET THEM ALL!”.


First task…finding a van…check

Second task…loading the van…check

Third task…transporting the pallets…check

Fourth task…emptying the pallets from the van…check

Fifth task…transporting the pallets to the garden………..PAINFUL!!


Anyway, we managed to get 49 pallets inside a Sprinter van and we drew out a plan for the pallets and decided where they were going to go. Managed to transport 9 pallets over to the grounds for assembling.


Sixth task…taking apart the pallets…[insert crying face]


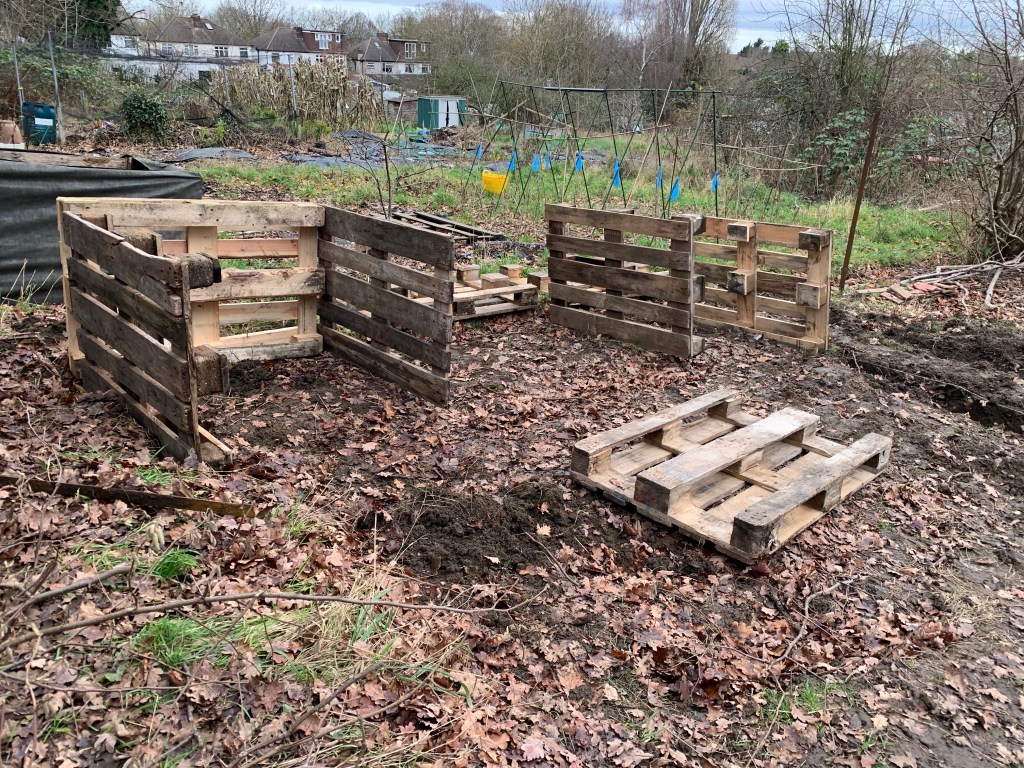
When I say that I have never come across pallets as stubborn to come apart as these…the plan was to take away one side and then the middle sections to be left with a nice panel, build into three separate large squares – not sure why, but I am sure Ben will explain…[one of his completely unnecessary ideas if you ask me – but I’m just going with the flow].


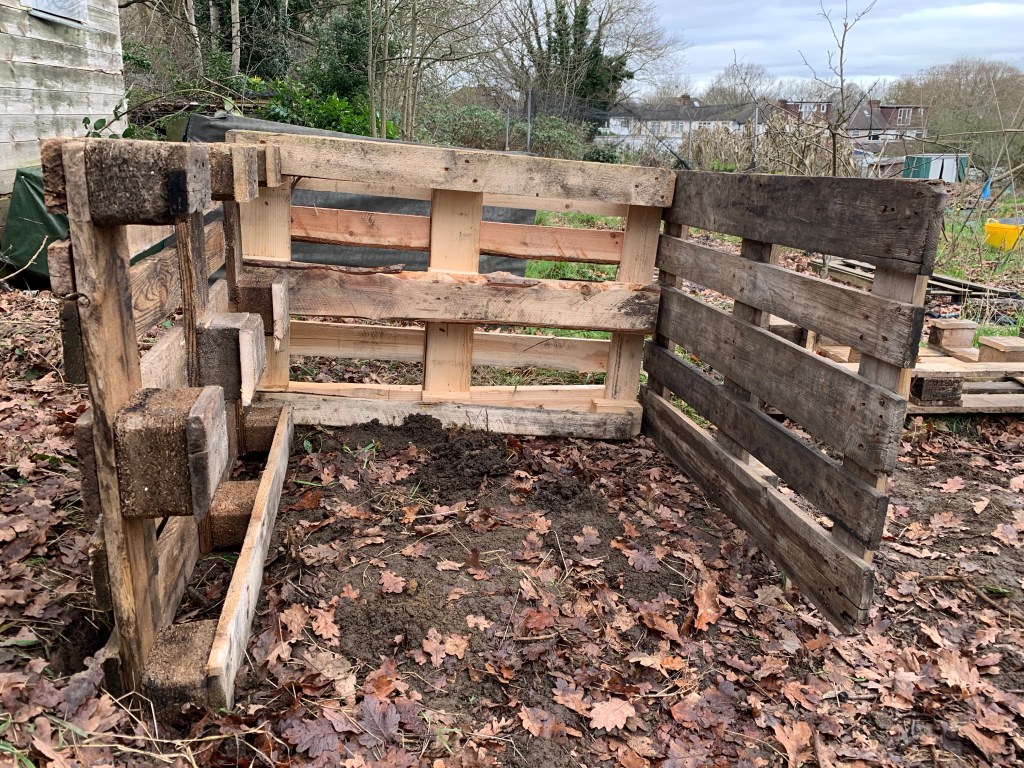
So we managed to get ONE clean pallet side, then gave up for the day…we were exhausted! We propped up the other pallets to check the sizings and see how they would look – its starting to resemble the shape of a compost bin…

Next steps is to remove the rest of the squares, level up, line and fill!

Tools used so far: Small Rotary saw to saw out the middle sections, a hammer and wrench to take away the wood blocks on each side and an electric screwdriver to join together one side.


This challenge is to still be faced…to be continued!

D.O.A.N.G

In the jungle, the broad bean jungle…the broad beans sit tonight!

Go on…sing along – A WHIM A WAY…(I can hear your humming now!)

Thought we would give you an on our first little haul of broad beans/ fava beans/ pillows of goodness (whatever you’d prefer to call them)- an interesting journey through growing nevertheless.

We have these a try in the garden at home and at the allotment and WOW, was there a difference in growing and haul!!

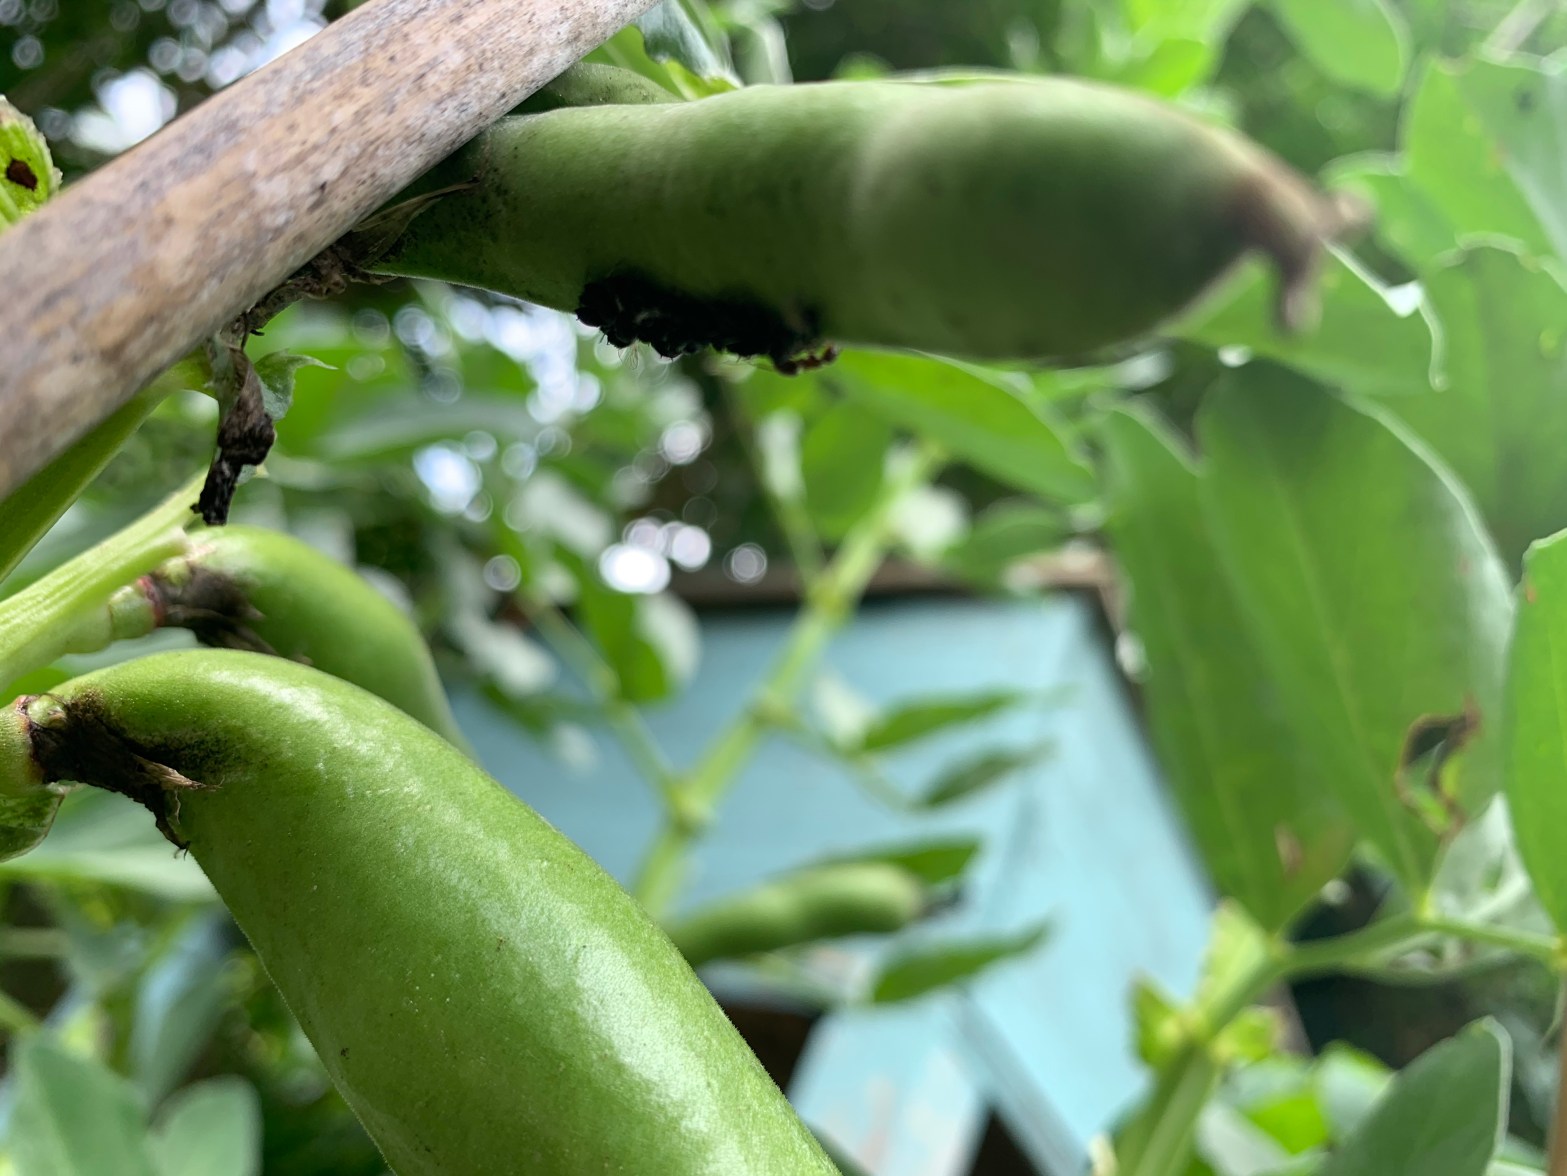
Blackfly and aphids reigned supreme on the majority of plants, strangely only one of the back plants in the garden at home with a few soldiering through to the front plants but the poor guys at the allotment – ANNIHILATED! Sadly I’ve not yet got a photo but I will show you the state of them.

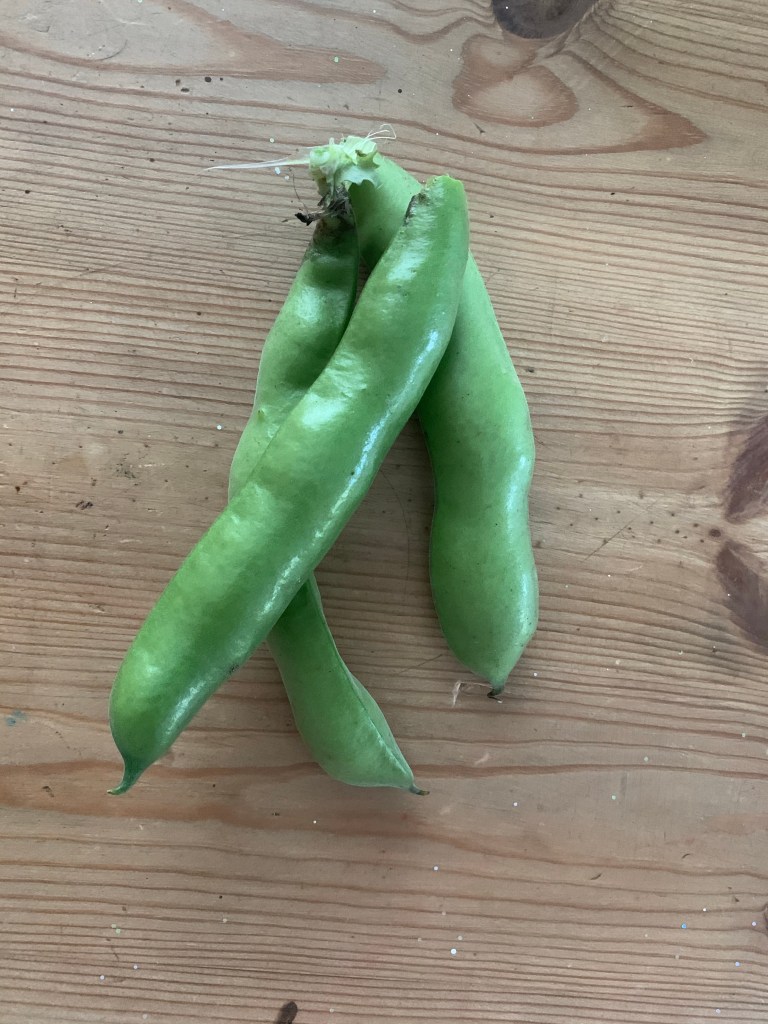
However, happy to report that WE DO have our first small crop of broad beans supplied by the garden plants that managed to escape the wrath of the blackfly and aphids. Wonderful pillowy pods encompassing the sweetest, most perfectly green pods – sweet, delicate and moreish (wishing we had more!).

The first three broad bean buddies we had the heart to pull from the plants – we do have more – saving them to get a bit bigger though!

A TOP TIP that I mistakenly discovered after trawling the internet for ways to remove blackfly and aphids (where the majority said to squash it scrape) was to put the garden hose on full power and BLAST the plant tips where the aphids are…gone in a second and wish I had discovered this trick sooner- I hope some of you manage to get aphid water blasting soon!

Aphid and ant attack!

D.O.A.N.G

ENCORE…in the jungle, the broad bean jungle, the broad beans sit tonightttttt….or listen to those beautiful UK garden birds chirping away in the background!

HOMEMADE BLACK GOLD


Composting can be as easy or as hard as you wish to make it. There are a number of different composting methods.

Below we will go into those we are currently exploring:


Sub-soil or trench composing:

Trench composing involves digging a trench and burying green material in your trench. Based on the tests it is taking approximately 1-2 weeks to fully compost 1-2 kgs of green household material per trench. We gave this a go and usually bury the waste up to a spade deep in a trench approximately 2 ft long and found it simply has the quickest results.


Dos and Don’ts:


Do – include a variety of green (uncooked) waste. Carrot peelings, potato peelings, cucumber ends, old tomatoes are all great additions [seasonal Halloween pumpkins are great – watch out for the seeds though – we have a few pleasant surprise pumpkins growing from our trench] or used flowers.

Don’t – include too may onions or chilli’s in an area (onions and chilli actually can cause irritation to worms if used too concentrated areas – it slows down the composting)

Do – include teabags and coffee grains, these are great sources of nitrogen for the soil. We removed the teabag casing as these are often bleached and do not compost well – messy but in my opinion worth it.

Don’t – include large lumps of potato skins or whole potatoes (unless you want a potato patch) but at the rate it composts in our wet clay area there is not much chance of these growing for me.

Do – include eggshells, raw eggshells have a small chance of introducing salmonella and other unwanted bacteria. Therefore, in our opinion, it is best to roast, boil or microwave your eggshells before crushing to remove this risk. We microwave or throw these on a baking tray when we are roasting something for at least 10 minutes before grinding these up into dust – do not breathe in too deep or sneeze in the process…it can have a very fine dust.

Don’t – include meat or cooked food. This is mainly because of the bad bacteria risk as well as the increased chance of attracting pests or foxes to dig up your compost areas…

Positives

  • Quickly composts material
  • Easy to dig a hole and throw material in
  • Material is covered so doesn’t attract unwanted guests [although we did have some foxes enjoy our 2 year old pumpkin…very odd].
  • Adds nutrients directly where you want it

Negatives

  • Adds a lot of moisture to the area – depending what you are adding
  • Can cause an unpleasant smell – especially if you re-use areas
  • Can cause unwanted plants to grow – [yes, ooking at you pumpkin seeds and potatoes]
  • Risk of introducing bad bacteria from your kitchen into the area if you are not careful

Standard composting/hot composting:


For standard composting, people believe it is the easiest because most people throw anything they have onto a heap and essentially wait until it looks ready. You buy or build a compost bin and simply throw stuff on and hope it eventually turns to compost. This take a lot of time. Usually months or in some cases years.


There is usually a mix of green stuff, brown stuff, some paper and we have seen people put an old carpet on top. I have seen many compost bins sitting unused around the allotment and this is because people in my opinion do not use them correctly.

A little fresh seaweed addition to the heap!


Composting should use aerobic bacteria. This means that the compost needs air and oxygen to effectively break materials down. They also need water for these little bacteria to work properly (I have never seen anyone water a compost bin except myself – apparently urine is also good for compost, although we have not gotten round to saving our urine…) and they also need the correct mixture of green and brown – usually we find a 2 green to 1 brown ratio or in nerd speak a correct Carbon to Nitrogen ratio.

The ideal ratio you need to find is the sweet spot around 1 Nitrogen (green) to 25 Carbon (brown) – but to calculate this can be fairly difficult and is usually just guess work.

By just throwing green waste and weeds on top and grass clippings into plastic bins, usually these become very compact causing the aerobic process to stop and an anaerobic process to take over. This is when you end up with a wet, smelly compost heap usually with a slimy brown or black layer or something alternatively, one which dries out and just does not change for ages into anything or stays looking like the original material.


To compost effectively, we have generally found that every time we add a bag of green materials (be it household waste, coffee/teabags or grass clippings) mix this up in thin layers with half the amount of brown material or 2 bags of green material to 1 bag of brown material.


Examples of Green material:· Household kitchen waste; i.e. Vegetable clippings, Banana peels, or any peels· Coffee/tea, grass clippings, weeds/plant materials before they have dried out.


Examples of brown materials:· Shredded leaves, Dried plant materials, Straw/sawdust, Shredded paper/cardboard.


If your compost is taking too long to start to decompose, you have not added enough nitrogen, so just add green and if it looks like it is turning black or slimy you do not have enough carbon so you need to add brown (or it is too wet – so add more brown/aerate it by turning)


Water is important. Compost needs to damp but never soaking wet. If it is a hot day, we tend to use the sprinkler head on our watering can to add some moisture – you do not need much in the English weather. In fact, we have to protect it from water aka the English rain, most of the time instead.


The smaller your material the faster the composting process as there is an increased surface area for bacteria to grow on. Adding charcoal into a compost bin is another brilliant way to add surface area. You can also add minerals and other nutrients to your compost bins should you like to like volcanic dust or some lime or manure.


To start a new compost bin, simply store up a number of green and brown materials. You do not need too much but the final minimum size of your compost bin should be approximately 1m wide and at least 1m tall any smaller and you won’t be able to store any heat in your compost and this will slow it down…basically with compost heaps, unfortunately, size matters. BUT, if you don’t have the space to build 1m compost bins a smaller wormery or tumbling composter will be just as good at providing you with some wonderful compost to use for your plants!

Here is a great tumbling composter we found online which is good for a smaller space or can be kept on a balcony [although it may take up quite a bit of room there!] – the point is, the magical internet holds many options!


You can use compost ‘starters’ to kick start the process once you’ve built your bins or alternatively, try growing Comfrey [We bought our plants from here; https://www.naturescape.co.uk/product/comfrey-9cm-pots/%5D or collecting some stinging nettles to add to your bin – again do not add any weeds with seeds on at this point.


After layering your brown and green material throwing in any charcoal, nettles/comfrey you can add any out of date beer/fizzy drinks you have laying around (yes, its time to get rid of that Guinness loitering at the back of the fridge from last winter) – the beer/fizzy drink isn’t essential but adds a little sugar/yeasty kick-start.


Then give the whole heap a really good soaking with the hose or watering can. If you can add some soil into the heap or on top, as this will aid in speeding up composting. If you are really into your composting, you may own a compost thermometer – add this now if you do.

If you live in England and it is likely to rain, cover the heap with a sheet to protect it from the weather, as you do not want it to get any wetter.


Hopefully, over the next few week or so you will see the temperature of the compost to rise. If it reaches 49 degrees Celsius (120 degrees Fahrenheit), it is time to turn your heap. If you do not own a thermometer, insert ones hand into the compost [great job!]. It should be hot in the centre and not comfortable. This is called “hot” composting. If you do not turn your compost at this point the temperature will continue to rise and start to kill your lovely bacteria, turning also helps mix your compost (try to turn the outside into the centre and the centre onto the outside or swap top and bottom of the pile) to give an even finish. Turning also adds oxygen into the mix to keep the aerobic process working and allows any water/juice pockets to disperse.


At this point, you can usually get away with turning a compost once in its cycle and if your Carbon to Nitrogen mix was good, you will have proper compost in around 4 to 5 weeks. If you see the compost slow down or the temperature rises too high, you will need to turn it again or top with some green material.

One last thing…Did you guys know that all the food waste we send to our landfills releases methane (a greenhouse gas that is 28 times stronger and more harmful than CO2 emissions) whilst decomposing? Yes, we are talking about all the fruit, veggies, grains and other food leftovers we put in our rubbish bins “thinking” they will magically disappear the minute we close the lid. Well, we have some news for you. There’s no “HOCUS POCUS” here! Everytime we throw something away, our planet takes the fall for us – obvious we know but composting is a wonderful way to turn what would only be ‘waste’ into nutrients for our soil – what are you waiting for?

Happy composting all!

___________________

D.O.A.N.G

%d bloggers like this: